DIY Flip-Top Storage Bench: Build a Stylish Space-Saver
Looking for a storage solution that’s both practical and stylish? Say hello to the DIY flip-top storage bench—the perfect combination of seating and hidden storage. Whether it’s for your entryway, patio, or kids’ playroom, this clever design helps keep clutter at bay while adding a touch of handcrafted charm.
And to make it an even bigger point of pride, why not build it yourself? With the right materials and a little creativity, you’ll have a custom piece that fits your space and style perfectly.
At Timbercity, we’re all about making DIY easy, fun, and rewarding. So, grab your tools—we’re about to build something amazing!
What You’ll Need
Before we dive into the build, let’s talk supplies. You want this bench to be sturdy, long-lasting, and stylish, so choosing the right materials is key.
Materials
- Wooden boards – Opt for hardwood for durability or plywood if you’re planning to paint.
- Hinges – Heavy-duty hinges ensure a smooth open-and-close function.
- Wood glue & screws – For a rock-solid assembly.
- Sandpaper – Say goodbye to rough edges!
- Paint, stain, or varnish – Add a protective and decorative finish.
Tools
- Saw – A circular saw makes cutting wood a breeze.
- Drill & screwdriver – Because nobody likes a wobbly bench.
- Measuring tape & pencil – Precision is your best friend.
- Clamps – Hold everything in place while assembling.
Need top-quality materials? Request a quote at Timbercity for everything you need!
Step-by-Step Guide
Now, let’s get to the fun part—building your flip-top storage bench!
Step 1: Cut & Prep the Wood
Measure twice, cut once! Here’s a rough guide to your wood dimensions (adjust based on your space):
- Seat/Top Panel – 90cm x 40cm
- Front & Back Panels – 90cm x 35cm
- Side Panels – 40cm x 35cm
- Bottom Panel – 86cm x 36cm
Once cut, sand down the edges for a smooth, professional look. No splinters allowed!
Pro Tip: Not a fan of sawing? Let Timbercity’s experts handle the cutting for you—just ask when you order. Or click here.
Step 2: Assemble the Frame
Now it’s time to put the base together!
- Lay out the front, back, and side panels in position.
- Apply wood glue along the edges for extra strength.
- Secure with screws—make sure everything is aligned before tightening.
- Fit the bottom panel inside and fasten it in place.
DIY Hack: Use clamps to hold pieces together while you work. This keeps things steady and square—no wobbly benches here!
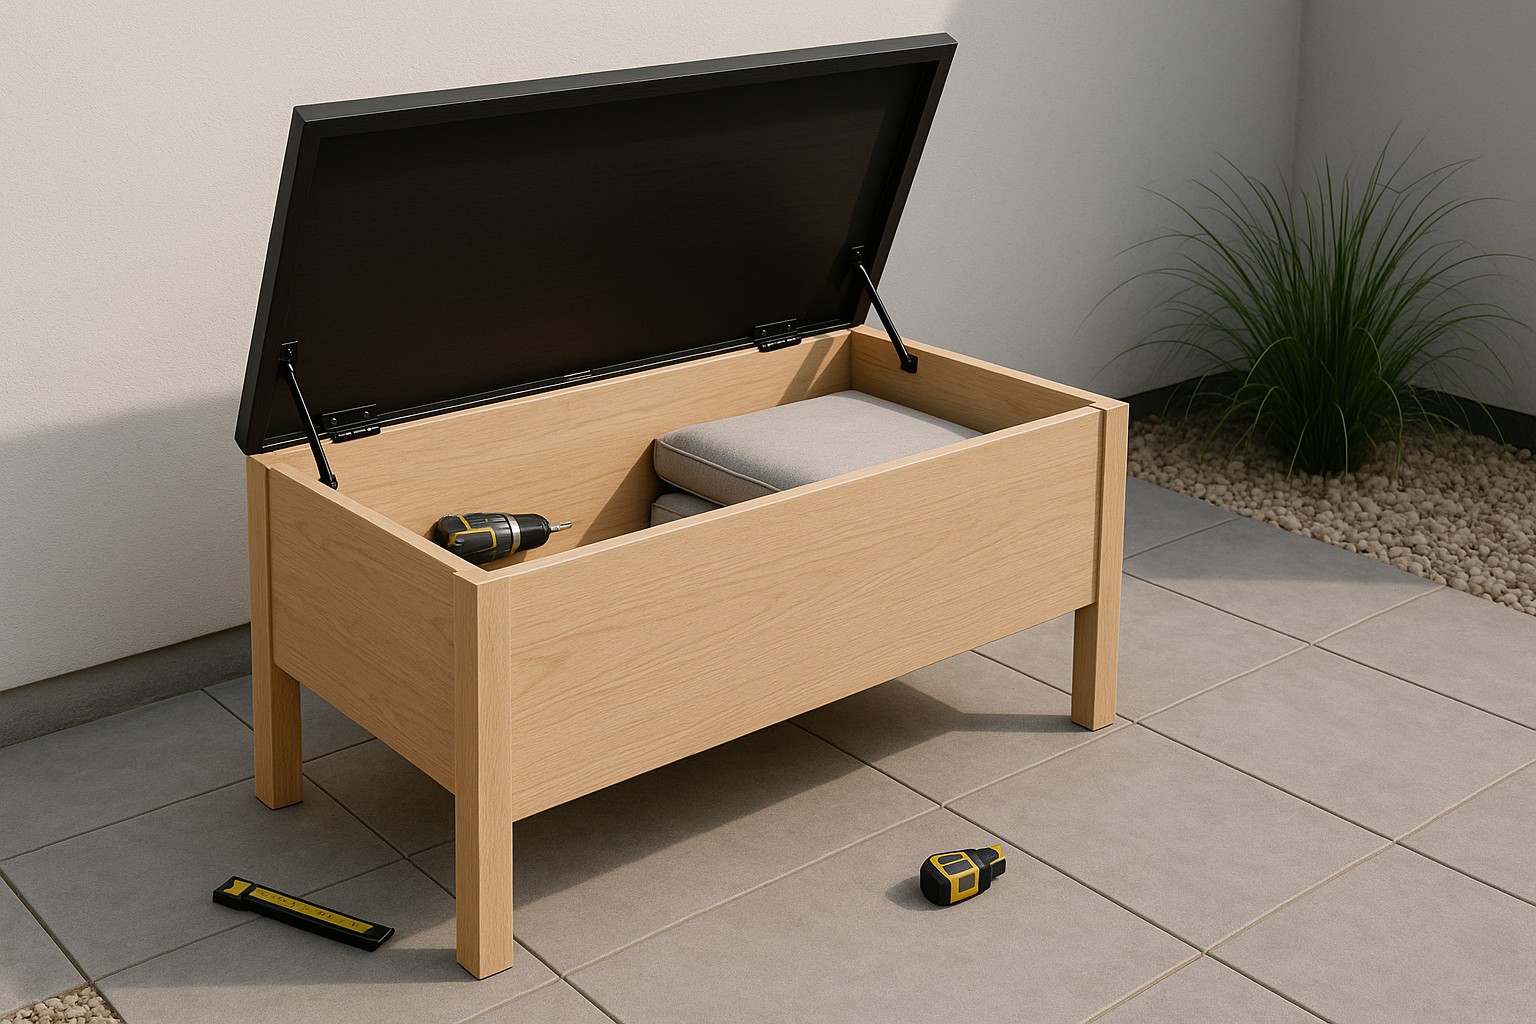
Step 3: Install the Flip-Top Lid
Here’s where the magic happens!
- Place the seat panel on top of the bench frame.
- Attach hinges along the back edge for a smooth open-and-close motion.
- Test it out—if it’s stiff, adjust the hinges slightly for better movement.
Upgrade Idea: Soft-close hinges prevent the lid from slamming—perfect if you have little ones!
Step 4: Finishing Touches
Now, let’s make it look amazing!
- Sanding: Smooth out any rough spots.
- Painting/Staining: Go for a natural wood look or a pop of colour! If using it outdoors, opt for weatherproof varnish.
- Cushions: Add a comfy cushion on top for extra seating comfort.
Boom! Your flip-top storage bench is complete and ready to level up your space.
Customisation Ideas
Want to take your DIY skills even further? Here are some fun ways to personalise your bench:
- Outdoor Bar Seating – Pair it with DIY pallet bar stools for a stylish patio setup.
- Matching Wooden Stools – Build a set of custom bar stools to complement your bench.
- Decorative Touches – Stencil on a fun quote, engrave a design, or add bold-coloured cushions.
Need more inspiration? Check out Timbercity’s DIY ideas for creative ways to enhance your space!
Why DIY with Timbercity?
Great DIY projects start with great materials—and that’s where Timbercity comes in.
- Top-notch wood for strong, long-lasting builds.
- A massive range of fasteners, hinges, and tools.
- Expert cutting services—we’ll prep your wood for an easier build.
- Custom quotes so you get exactly what you need for your project.
Whether you’re a seasoned DIYer or just starting out, Timbercity makes it easy to bring your ideas to life.
Ready to Build? Let’s Do This!
A flip-top storage bench isn’t just a place to sit—it’s a space-saving masterpiece that keeps clutter under control while looking amazing. Whether it’s for your entryway, patio, or bedroom, this DIY project is one you’ll love for years to come.
So what are you waiting for? Get your materials from Timbercity, request a quote, and start building today!
We’d love to see your finished bench! Share your DIY projects. If you’re looking for other DIY ideas, get inspired here.