Crafting Your Ultimate Multi-Functional Workbench: The Perfect Fusion of Wood and Metal
Imagine this: You’re in your workshop, surrounded by tools, timber, and metalwork projects in progress. Everything you need is at your fingertips, and your workbench is the star of the show—practical, powerful, and perfectly suited to your needs. If that sounds like a dream, it’s time to make it a reality with a multi-functional workbench that effortlessly handles both woodworking and metalworking tasks.
Whether you’re building custom furniture, crafting intricate wood joints, or welding metal frames, a versatile workbench is the essential foundation for all your projects. It’s the place where creative ideas come to life, so why settle for anything less than the best?
With the right materials, tools, and design, you can create a workbench that goes beyond just a flat surface—it’ll become a functional workspace tailored to your specific needs. And that’s where Timbercity comes in. With a vast selection of quality timber, hardware, and workshop tools, Timbercity is your trusted partner for all your DIY dreams. Ready to dive in? Let’s get started! Explore Timbercity’s extensive range of materials and supplies.
Step 1: Planning Your Multi-Functional Workbench
Before you pick up your saw, it’s essential to plan every detail of your multi-functional workbench. A well-thought-out design not only improves workflow but ensures safety and durability throughout the build.
Assess Your Space & Workshop Needs
- Measure your workspace carefully: A compact workshop might require a mobile workbench, while a spacious area can accommodate a larger, fixed structure.
- Consider the materials you work with: Do you need a smooth surface for woodworking or a heat-resistant area for metalwork? Tailor your design accordingly.
- Think about future projects: Your workbench should evolve with your skills and needs. Will you be adding power tools or additional features down the line? Plan for these upgrades now.
Design for Both Woodworking and Metalworking
- Woodworking: A flat, smooth, and solid surface is key for precise cuts and routing.
- Metalworking: Your workbench needs to resist heat, sparks, and heavy tools, so incorporate steel reinforcements or protective metal surfaces where needed.
Focus on Stability, Safety, and Capacity
- A sturdy, level surface is non-negotiable. Reinforce your frame to hold the weight of your heaviest tools.
- For metalwork, ensure the frame can handle vibrations from grinders or welding equipment without wobbling.
When you’re ready to start building, remember that Timbercity offers both the materials and expert advice you need. Request a Quote for personalised assistance!
Step 2: Designing Your Workbench for Maximum Functionality
A multi-functional workbench isn’t just about slapping a few boards together—it’s about crafting a purpose-built workspace that enhances your efficiency, creativity, and safety. From adjustable vises to customisable workholding solutions, here’s how to design a workbench that meets all your needs.
Workbench Surface: Durability Meets Versatility
- Wood: For the ultimate in smoothness and ease of use, hardwoods like maple or birch make excellent choices. These woods handle woodworking tools like routers and sanders with ease.
- Metal: For areas prone to heat, sparks, and heavy impacts, steel sheets or sheet metal work wonders. These surfaces are tough, heat-resistant, and durable.
- Modular Top: Consider a top made of replaceable panels (like MDF or plywood) to absorb the wear and tear of metalwork, and swap them out when needed.
Integrated Features That Work for You
- Vise Mounts: Include a woodworking vise for precise clamping and a heavy-duty metalworking vise for tougher tasks.
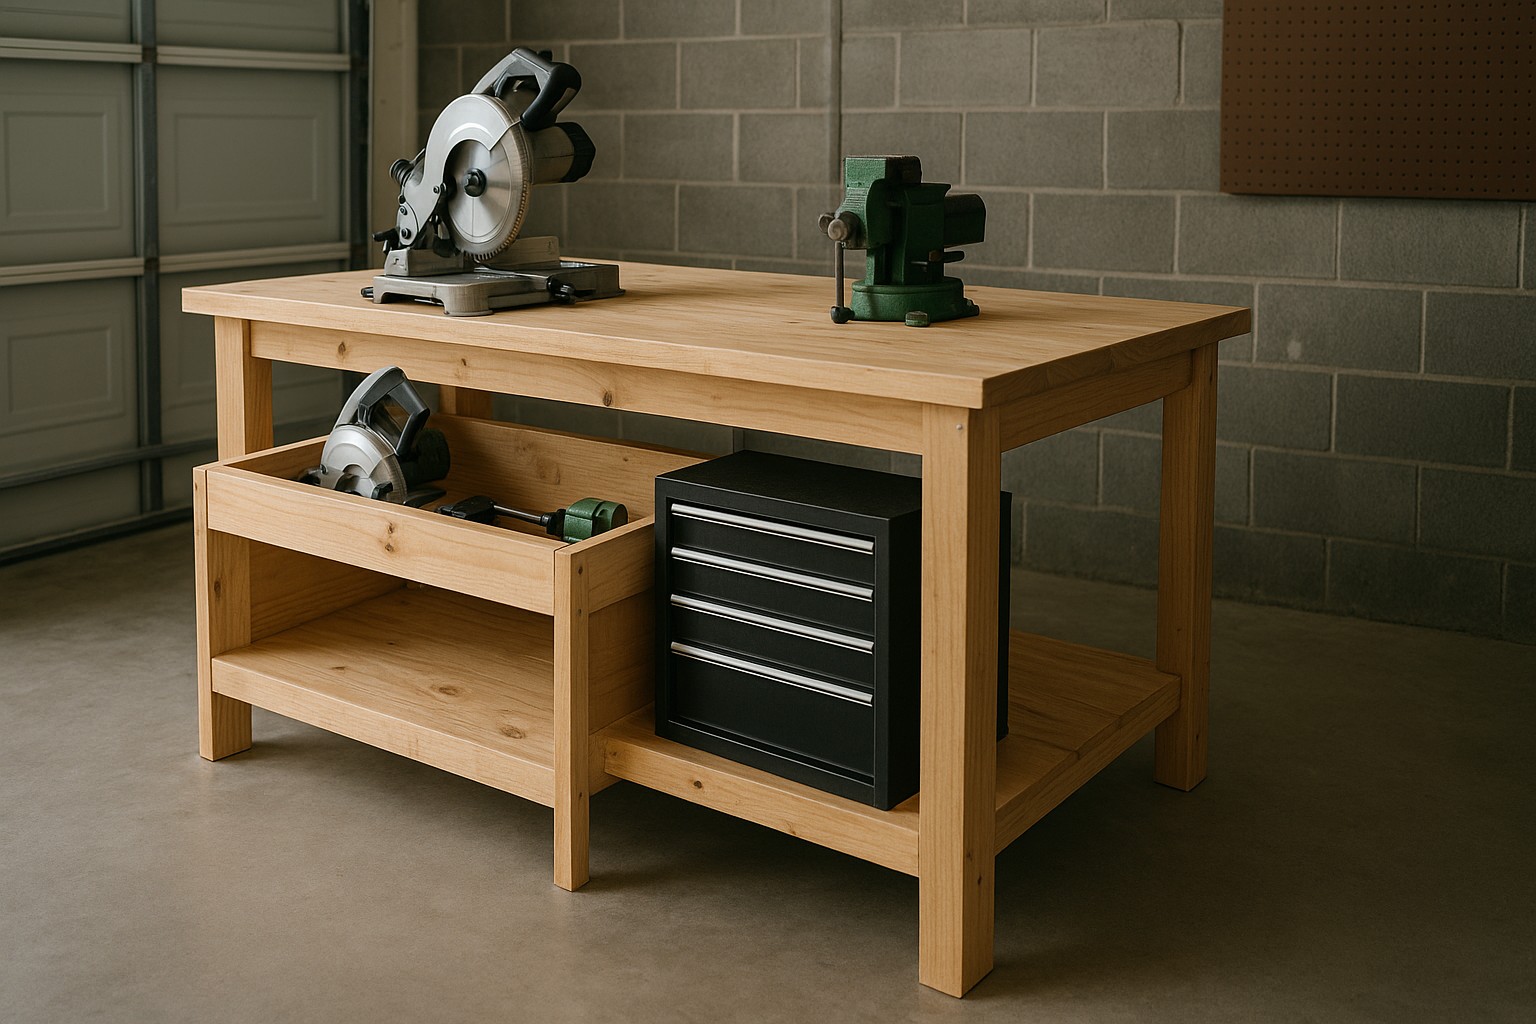
- Tool Racks & Drawers: Keep tools within arm’s reach with well-positioned racks or integrated storage that doesn’t take up valuable workspace.
- Power & Lighting: Install built-in power strips and task lighting to illuminate your work, ensuring you have everything you need at all times.
Workholding Solutions for Both Materials
- Woodworking: Use quick-release clamps and T-track systems to secure your woodwork without damaging your projects.
- Metalworking: Invest in magnetic clamps or customisable jigs for your metal pieces. These adjustable setups can hold even the most intricate shapes in place.
Mobility vs. Stability
- Locking Casters: A mobile workbench can be a game-changer for smaller spaces, allowing you to move it as needed.
- Heavy-duty Base: If stability is your priority, go for a fixed, reinforced base that ensures zero wobble during grinding or welding.
Step 3: Materials & Tools Checklist
To bring your workbench to life, you’ll need the right materials and tools. Below is a breakdown of everything you’ll require:
Materials You’ll Need:
- Timber: Hardwoods like oak, maple, or birch for the frame and work surface.
- Metal: Steel plates or aluminium inserts for metalworking areas.
- Fasteners: Rivets, bolts, and screws to reinforce joints.
- Finishes: Polyurethane, tung oil, or metal coatings for protection.
- Casters: Heavy-duty locking wheels if you need mobility.
Tools You’ll Need:
- Table saw for precise wood cuts.
- Drill press and drivers for assembling components.
- Angle grinder for metalwork and smoothing rough edges.
- Jigsaw or router for shaping wood.
- Clamps & T-tracks for secure workholding.
For top-notch quality materials and tools, Timbercity has you covered. Whether you’re in need of high-end timber, metal hardware, or power tools, check out the full range of products available. Shop Timbercity’s workshop essentials.
Step 4: Finishing & Assembling Your Workbench
The final steps are where your workbench starts to shine! With some finishing touches and a well-organised assembly, your new workbench will be ready to tackle anything you throw at it.
1. Protecting the Surface
- Wood: Apply polyurethane or wax for added durability and moisture resistance.
- Metal: Heat-resistant paint or clear coatings will prevent rust and keep the metal looking sharp.
2. Final Assembly
- Securing the Workbench: If your design is mobile, make sure the casters are properly locked in place. If it’s fixed, ensure that the frame is bolted securely to the floor or wall for extra stability.
- Trim Work: Add trim and edging to your work surface for a polished look and to prevent wood chipping.
3. Organising the Workspace
- Tool Racks & Shelves: Position your tools for maximum efficiency.
- Storage Solutions: Use drawers, bins, and overhead shelves to keep your workshop organised and ready for action.
Step 5: Timbercity—Your Partner in Craftsmanship
Building a multi-functional workbench is no small feat, but with the right materials, tools, and guidance, you can create a workspace that revolutionises your workflow. And Timbercity is here to help at every step of the way.
From premium hardwoods to metalworking supplies and top-notch tools, Timbercity is your go-to source for everything you need to make your custom workbench a reality.
- Need personalised advice or materials? Request a Quote
- Get inspired for more workshop ideas and see how others are crafting their dream workbenches with Timbercity’s resources.
Your Workbench, Your Masterpiece
There’s something incredibly satisfying about building a workbench that’s not only functional but also an extension of your craftsmanship. It’s more than just a surface—it’s your creative hub, ready to take on any challenge.
And with Timbercity by your side, you’ll have everything you need to build the workbench of your dreams. From materials to machinery, we’re here to help you make your projects a success, one sturdy workbench at a time.
Request a Quote for Workbench Materials and Machinery
Find More DIY Workshop Inspiration at Timbercity