Crafting Custom Wooden Picture Frames: Add Personality to Every Piece
Frame It Your Way
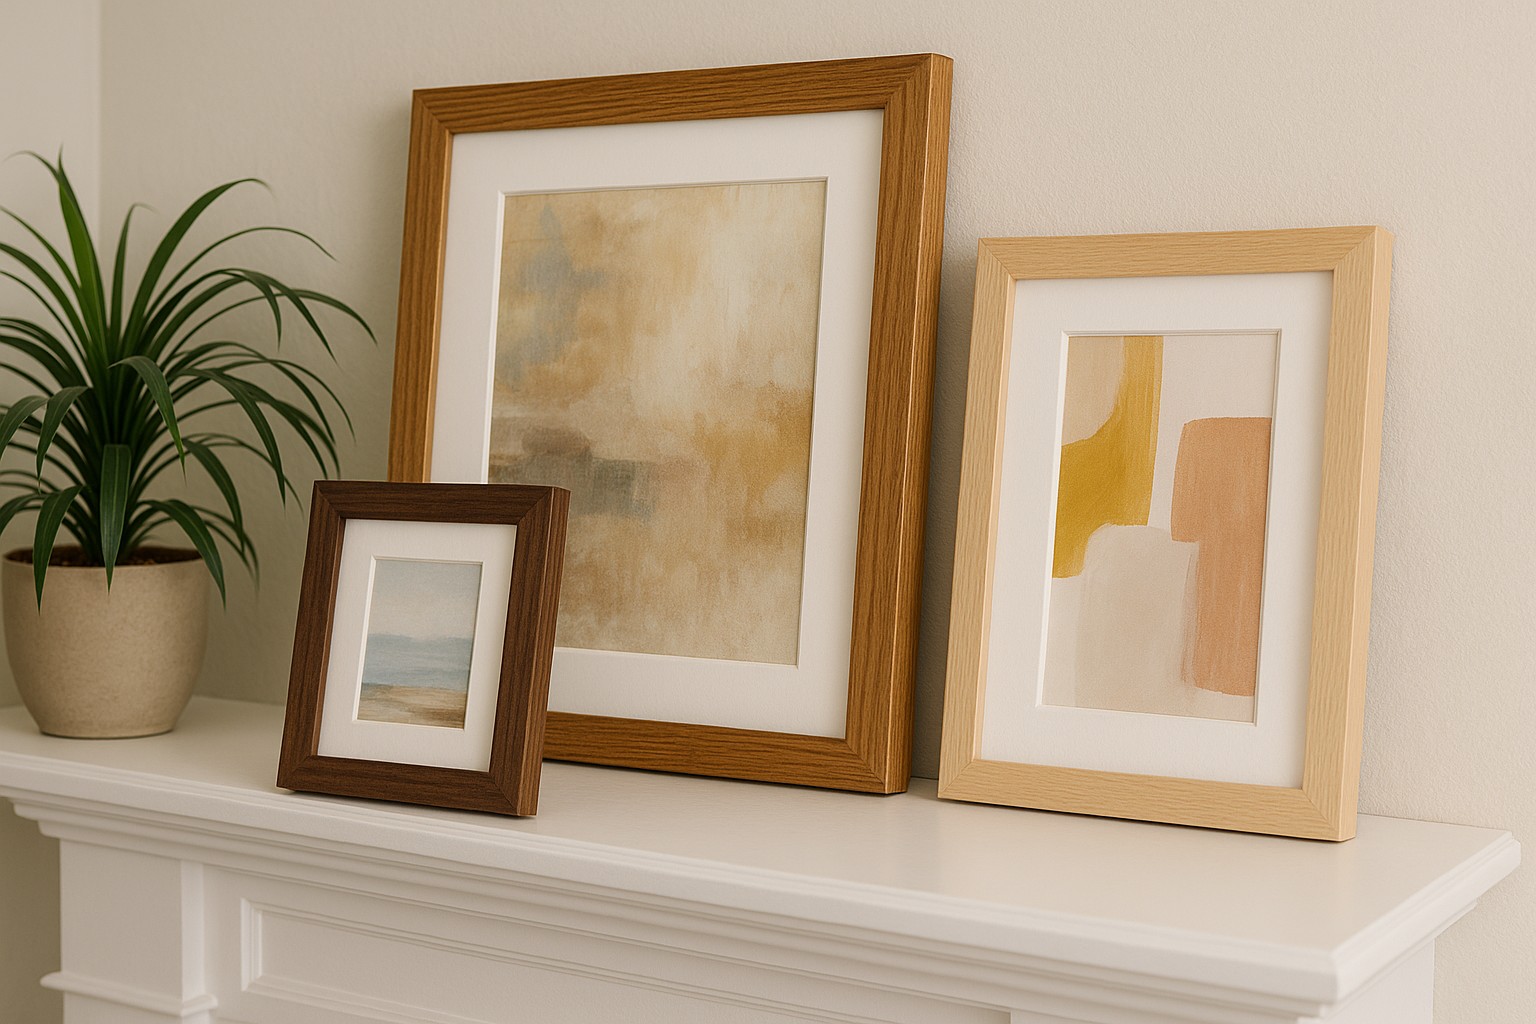
The perfect picture deserves more than a standard store-bought frame. It deserves something personal – something crafted by hand, designed by you. Whether you’re preserving a family photo, showcasing a painting, or adding flair to a gallery wall, building your own wooden picture frame turns a simple display into something meaningful.
It’s easier than you think, surprisingly affordable, and endlessly customisable. And with quality timber and tools from Timbercity, you’ve got everything you need to get started.
Let’s walk through the process of creating a frame that not only complements your art, but also shows off your craftsmanship.
Why Make Your Own Picture Frames?
There’s a big difference between a frame that fits and one that truly finishes a piece.
Here’s why DIY makes sense:
-
- Tailored to Your Art
Create the exact dimensions you need—perfect for non-standard sizes or unique compositions. - Your Style, Your Rules
Choose your timber, stain, and finish to match your aesthetic, whether it’s modern minimalism or rustic charm.
- Tailored to Your Art
- Save Without Sacrificing Quality
Handmade frames can look high-end without the premium price tag of custom shops.
Choosing the Right Wood for Frames
A beautiful frame starts with the right wood. At Timbercity, you’ll find a wide selection of quality timber to suit any project.
Here are a few favourites:
- Pine – Lightweight, easy to work with, and ideal for painting or staining.
- Oak – Dense and durable with a bold, attractive grain.
- Meranti – Smooth and versatile, perfect for both natural finishes and painted looks.
Each wood type has its own personality—grain patterns, colour tones, and hardness all influence the final result. For guidance or a tailored recommendation, request a quote directly from Timbercity’s experts.
Designing Your Frame
Start with a solid plan to make sure your frame turns out just right.
Step 1: Measure Your Artwork
Whether you’re framing a photo, canvas, or print, note the exact dimensions. If you’re including a mat board, factor its size into your total frame opening.
Step 2: Map Out the Proportions
Frame depth should accommodate glass, the artwork, matting, and backing—typically 10–15mm. Sketch a side-view to visualise the layers.
Step 3: Precision Matters
Use 45-degree mitre cuts for clean, professional-looking corners. A mitre box or jig helps ensure accuracy.
Tools & Materials Checklist
Here’s what you’ll need:
Basic Tools
-
- Saw (preferably a mitre saw)
- Mitre box or jig
- Wood glue
- Clamps
- Nails or pop rivets
Optional Extras
- Sandpaper or sander
- Mat board and backing
- Glass or acrylic insert
- Hanging hardware (wire, sawtooth hooks, or easel backs)
- Wood stain, paint, or sealer
From timber to fasteners, you’ll find everything you need at Timbercity.
Building the Frame: Step-by-Step
Step 1: Cut the Frame Pieces
Measure each side and make clean 45-degree cuts on both ends. Make sure opposing sides are identical in length.
Step 2: Assemble & Glue
Apply wood glue to the mitred edges, then join the corners on a flat surface. Clamp the frame securely and leave it to dry overnight.
Step 3: Reinforce the Corners
Once dry, add nails or pop rivets for extra strength. Pre-drilling can help prevent splitting.
Step 4: Sand & Finish
Smooth rough edges, then apply your chosen finish—stain for warmth, paint for colour, or a clear seal to let the wood’s natural grain shine through.
Adding Art & Mounting Options
Time to bring your frame to life.
Insert the Glass & Artwork
Slide in the glass (or acrylic), then layer your mat board, artwork, and backing. Secure it with flexible tabs, brads, or glazier points.
Choose Your Hanging Hardware
-
- Wire – Ideal for larger pieces
- Sawtooth Hooks – Great for lightweight frames
- Easel Backs – Best for tabletop display
Custom Ideas & Decorative Touches
Make your frame uniquely yours:
- Shadow Box Style – Great for 3D art or keepsakes
- Engraving – Add names, dates, or decorative carving
- Reclaimed Wood – Give your frame rustic charm and an eco-friendly edge
Need a spark of inspiration? Visit Timbercity’s Get Inspired page for creative ideas and real-life project showcases.
Tips for Framing Success
- Avoid splitting by using pilot holes before nailing.
- Check mitre joints carefully for tight, clean angles.
- Use a flat surface to prevent warping as glue dries.
Want to build a full gallery wall? Once you’ve mastered one frame, scaling the technique to different sizes is simple.
Need Help? Timbercity’s Got You Covered
If you’d like help sourcing timber, getting custom-cut pieces, or just want expert advice before you start, Timbercity is here to help. With quality materials and friendly service, they’ll help you bring your picture frame vision to life.
Building your own wooden picture frame isn’t just a fun weekend project—it’s a creative way to elevate your artwork, make your space more personal, and learn a rewarding skill. With Timbercity as your DIY partner, you’ll be framing with confidence in no time.