Constructing a Foldable Outdoor Dining Set
Dine Al Fresco—Then Fold It Away!
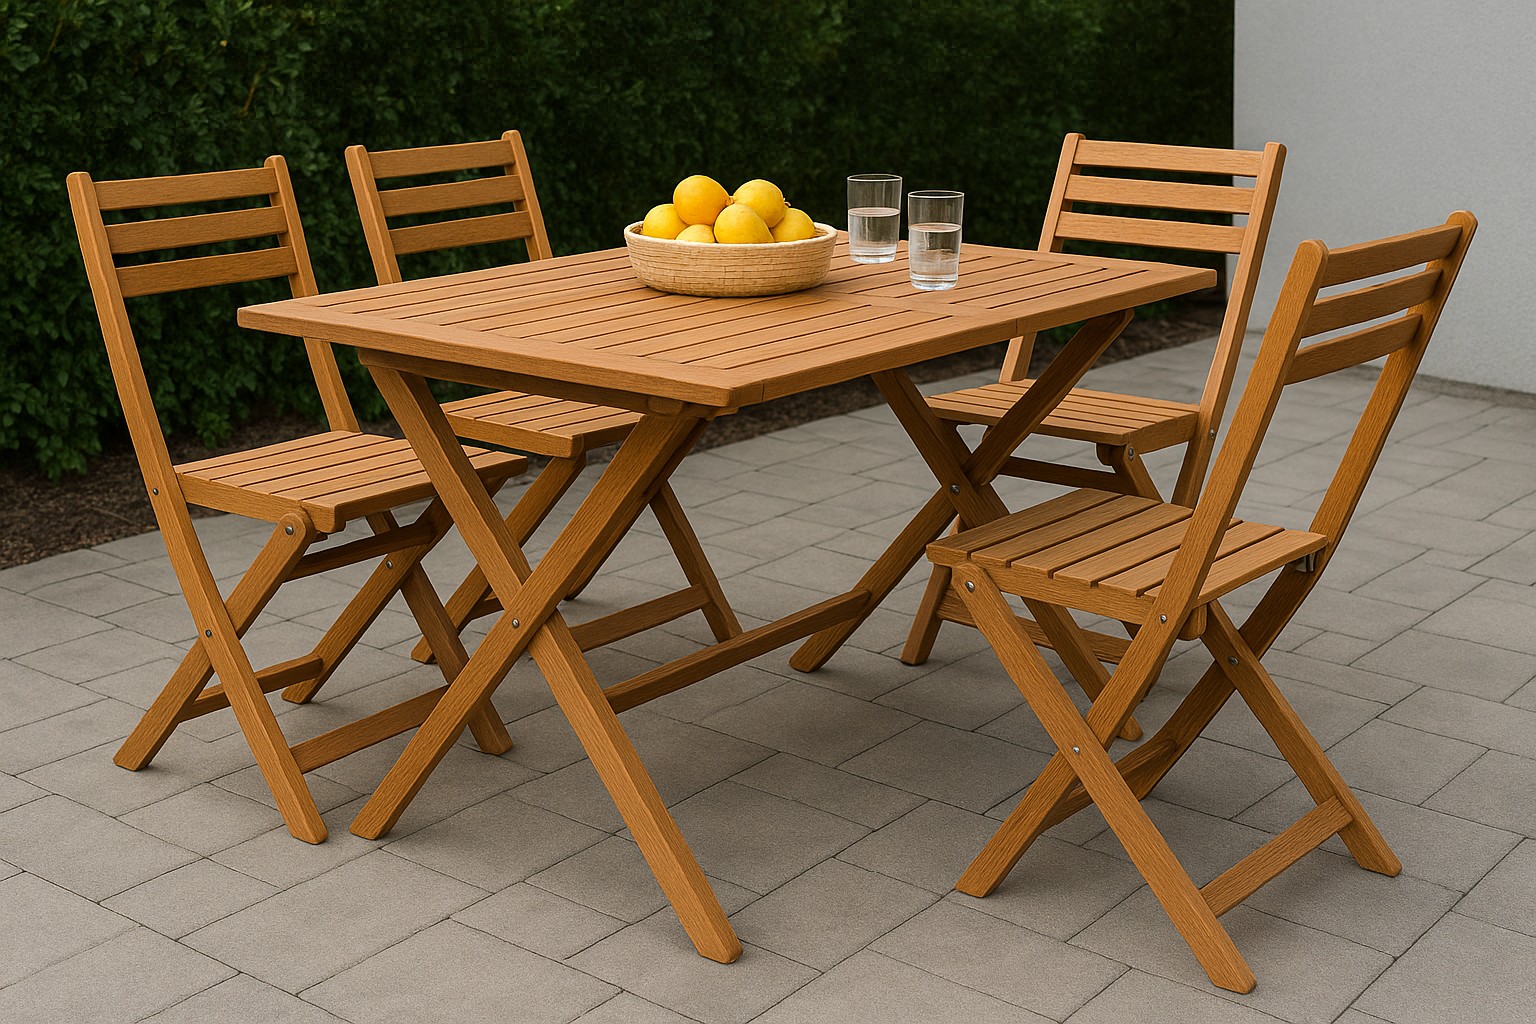
Enjoy outdoor dining without sacrificing your living space. That’s the magic of a foldable outdoor dining set—a clever, space-saving solution that adapts to your lifestyle. Whether you’re working with a small patio, a cosy balcony, or a larger entertainment area you want to keep flexible, a custom-built foldable set offers functionality without compromising style.
Here’s a handy guide on how to design, build, and finish a foldable outdoor dining table and seating arrangement that’s sturdy, stylish, and tailored to your space. We’ll walk you through each step, from choosing materials to assembly and finishing techniques. And when it comes to sourcing reliable wood and expert guidance, Timbercity is your trusted partner for quality craftsmanship.
Why Choose a Foldable Outdoor Dining Set?
Foldable furniture is more than a trend—it’s a practical, versatile choice for modern living. One of the most compelling reasons to build your own foldable outdoor set is the space-saving benefit. Unlike fixed tables and chairs that take up valuable patio space year-round, a collapsible set can be folded and stored away when not in use.
Portability is another key advantage. You can easily move your set from the sun to the shade, or even take it along on camping trips or to outdoor events. It’s furniture that works with your lifestyle, not against it.
There’s also the satisfaction of creating something that fits your space and aesthetic perfectly. When you build it yourself, you choose the size, style, and materials—right down to the last bolt. And unlike many store-bought options, a handmade set can offer better durability and long-term value at a lower cost.
Design Considerations
Before diving into measurements and sawdust, it’s important to think through the functional and aesthetic aspects of your dining set.
Start by determining how many people you’d like the table to seat. A compact two-seater may be ideal for a balcony, while a four- or six-seater works better for a family-sized patio. Also consider whether you want bench seating or individual foldable chairs, and whether you need a rectangular, square, or round table to suit your layout.
Next, think about the materials. Outdoor furniture needs to endure sun, rain, and fluctuating temperatures. Treated pine is a popular and cost-effective option, while hardwoods like Meranti or Saligna offer added strength and resistance to the elements. You’ll also need outdoor-rated hardware such as galvanised or stainless steel screws, folding hinges, and weather-resistant fasteners.
Style plays a big role as well. Whether you’re going for a rustic, farmhouse-inspired look or something clean and modern, your choice of finish, wood grain, and structure will help bring your vision to life. Consider incorporating slatted surfaces, rounded edges, or beveled trim for a polished touch.
Folding features are essential to this build. Think about where and how the table and chairs will collapse. Will legs fold inward? Will seats tuck into the frame? These mechanics will influence your material needs and the assembly process.
Looking for inspiration? Explore real-world project ideas and visuals at Timbercity’s Get Inspired gallery to help bring your vision into focus.
Tools & Materials Checklist
Successful DIY projects start with the right tools and materials. Here’s what you’ll need for this build.
Materials:
-
- Outdoor-treated wood boards for the tabletop, chair seats, and structural frames
- Folding hinges for legs and backrests
- Fasteners including galvanised screws and bolts
- Wood glue or outdoor-rated epoxy
- Timbercity’s high-quality pop rivets and rivets for durable, clean collapsible joints
- Weatherproof sealant, exterior varnish, or outdoor paint
Tools:
-
- Circular saw or table saw for clean, precise cuts
- Power drill with various drill bits
- Screwdrivers and Allen keys for hardware installation
- Clamps to hold materials steady during assembly
- Sander or sanding block for smoothing surfaces
- Measuring tape, pencil, and square for accurate layout
- Safety gear including gloves, goggles, and a dust mask
Need help sourcing or cutting your materials? Let Timbercity assist with selecting the right timber and providing precision cutting services.
Step-by-Step Build Guide
Cutting and Prepping the Parts
Begin by measuring and marking your wood pieces. For the table, cut planks for the tabletop, folding legs, and support beams. For chairs or benches, cut seat slats, leg frames, and backrests. Once everything is cut to size, sand all surfaces thoroughly to prevent splinters and ensure smooth assembly.
If your design includes slatted seats or a plank-style table, leave a small gap (around 3–5 mm) between each board to allow for expansion and water drainage.
Assembly Instructions for Collapsible Parts
Start with the table. Lay out the tabletop planks and connect them using wood glue and horizontal battens underneath. Attach folding legs using specially designed table hinges that allow the legs to pivot inward for storage. Install a crossbeam between the legs for added support, and test the folding motion before tightening all fasteners.
For the chairs or benches, assemble the seat frame and attach foldable legs with corner brackets or folding supports. Attach the seat slats, and then the backrest if included. Use Timbercity’s rivets to reinforce high-movement areas and ensure the folding mechanism is smooth but secure.
It’s crucial to test all moving parts as you go. Make sure the table and chairs stand firmly when open and fold down flat without resistance.
Reinforcement for Strength and Safety
Reinforce joints with corner braces or diagonal supports to ensure the set can handle daily use. Double-check all hardware to make sure nothing wiggles or creaks. Structural integrity is just as important as functionality, especially for outdoor use.
Finishing Touches
Once your set is assembled and tested, it’s time to protect and personalise your creation.
Start by applying a weather-resistant finish. An oil-based exterior sealant or outdoor-grade varnish will help protect the wood from moisture and UV rays. You can also stain the wood for a richer tone or paint it to match your patio décor.
If you’d like to add comfort, consider attaching cushions with fabric ties or using water-resistant upholstery foam. Small touches like rounded corners, engraved initials, or contrasting wood inlays can add visual appeal and reflect your personal style.
If you’re planning to build an entire foldable outdoor patio set, you can use matching finishes and structural elements to create a cohesive look that blends seamlessly into your outdoor space.
Fold, Store, Repeat: Practical Use & Care Tips
A foldable dining set is only as useful as it is easy to maintain. After each use, wipe down the furniture to remove dust and moisture. Avoid leaving the set exposed during heavy rain; instead, fold it up and store it in a dry, covered area like a shed or garage.
Inspect hinges and fasteners regularly, tightening any loose connections and applying lubricant to joints if needed. Reapply your protective finish once a year to maintain durability and keep your set looking fresh.
A little maintenance goes a long way in extending the life of your build.
Need Help or Custom Cuts?
Not sure where to start? Whether you need help choosing the best wood, finding hardware, or cutting precise dimensions, Timbercity is ready to help. Our friendly in-store experts and online services make your project easier from start to finish.
Use the Request a Quote tool to get personalised assistance, or visit a Timbercity location near you for on-site support.
Building your own foldable outdoor dining set is more than just a home improvement project—it’s a smart investment in flexibility, style, and self-sufficiency. You’ll not only gain a functional, space-saving piece of furniture, but also the satisfaction of saying, “I built that.”
With the right design, materials from Timbercity, and a bit of weekend dedication, your outdoor space can be transformed into a fold-and-feast paradise.
Ready to start building?