DIY Kid’s Desk with Storage: Build the Perfect Study Station
Back-to-school season is the perfect time to revamp your kid’s study area. A well-designed desk can be a game-changer, encouraging focus and creativity while keeping supplies organised.
The best part? You and the kids can make one yourself! At Timbercity, we have a detailed guide for building a DIY kid’s desk with storage that combines functionality and style, featuring boards and cabinets that you can shop directly from our site.
Read on to create a personalised workspace your child will love – and that fits your home perfectly.
Why Build a DIY Desk?
Store-bought desks can be pricey and often lack the customisation you need for your space. By building a DIY desk you can:
-
- Save money: Use affordable materials like wooden boards and pre-made cabinets.
- Maximise storage: Tailor the design to include built-in storage for books, toys, or craft supplies.
- Customise for your child: Adjust the desk’s height, width, and colour to suit your child’s age and room décor.
- Create a fun project: This DIY project is a great weekend activity that do with the kids. Who knows, you may awaken a special creative talent! And for them, the sense of pride and accomplishment that can come with crafting their own furniture, will be priceless.
Materials You’ll Need
Here’s everything you’ll need to create a sturdy, functional desk:
-
- Wooden boards: Choose sturdy boards for the desktop and shelves. (Shop our premium options for a variety of finishes.)
- Storage cabinets or cube storage units: These will form the base of the desk.
- Screws, brackets, and wood glue: For securing the components.
- Sandpaper: To smooth the edges of the wooden boards.
- Paint or varnish: For a polished look.
- Basic tools: Drill, screwdriver, measuring tape, and a saw (if cutting boards at home).
Pro Tip: We offer pre-cut boards and cabinets, saving you time and effort.
Step 1: Plan Your Design
Before you start building, take some time to plan:
-
- Desk height: For younger kids, aim for a height of around 22–25 inches (56 – 64 cm). For older children, 28–30 inches (71 – 76 cm) works best.
- Workspace dimensions: Make sure the desktop is wide enough for books, a laptop, or art supplies – typically 36–48 inches (91 – 122 cm).
- Storage needs: Plan storage based on what they’ll need, with cubbies or compartments typically ranging from 20–30 cm in height or depth.
Sketch out your design or look for inspiration online. Don’t forget to factor in space for a chair and legroom underneath!
Step 2: Prep Your Materials
Once you’ve finalised your design, gather your materials. If you’re cutting boards at home:
-
- Measure twice, cut once!
- Sand all edges to avoid splinters.
If you need help, ask us about our professional cutting services.
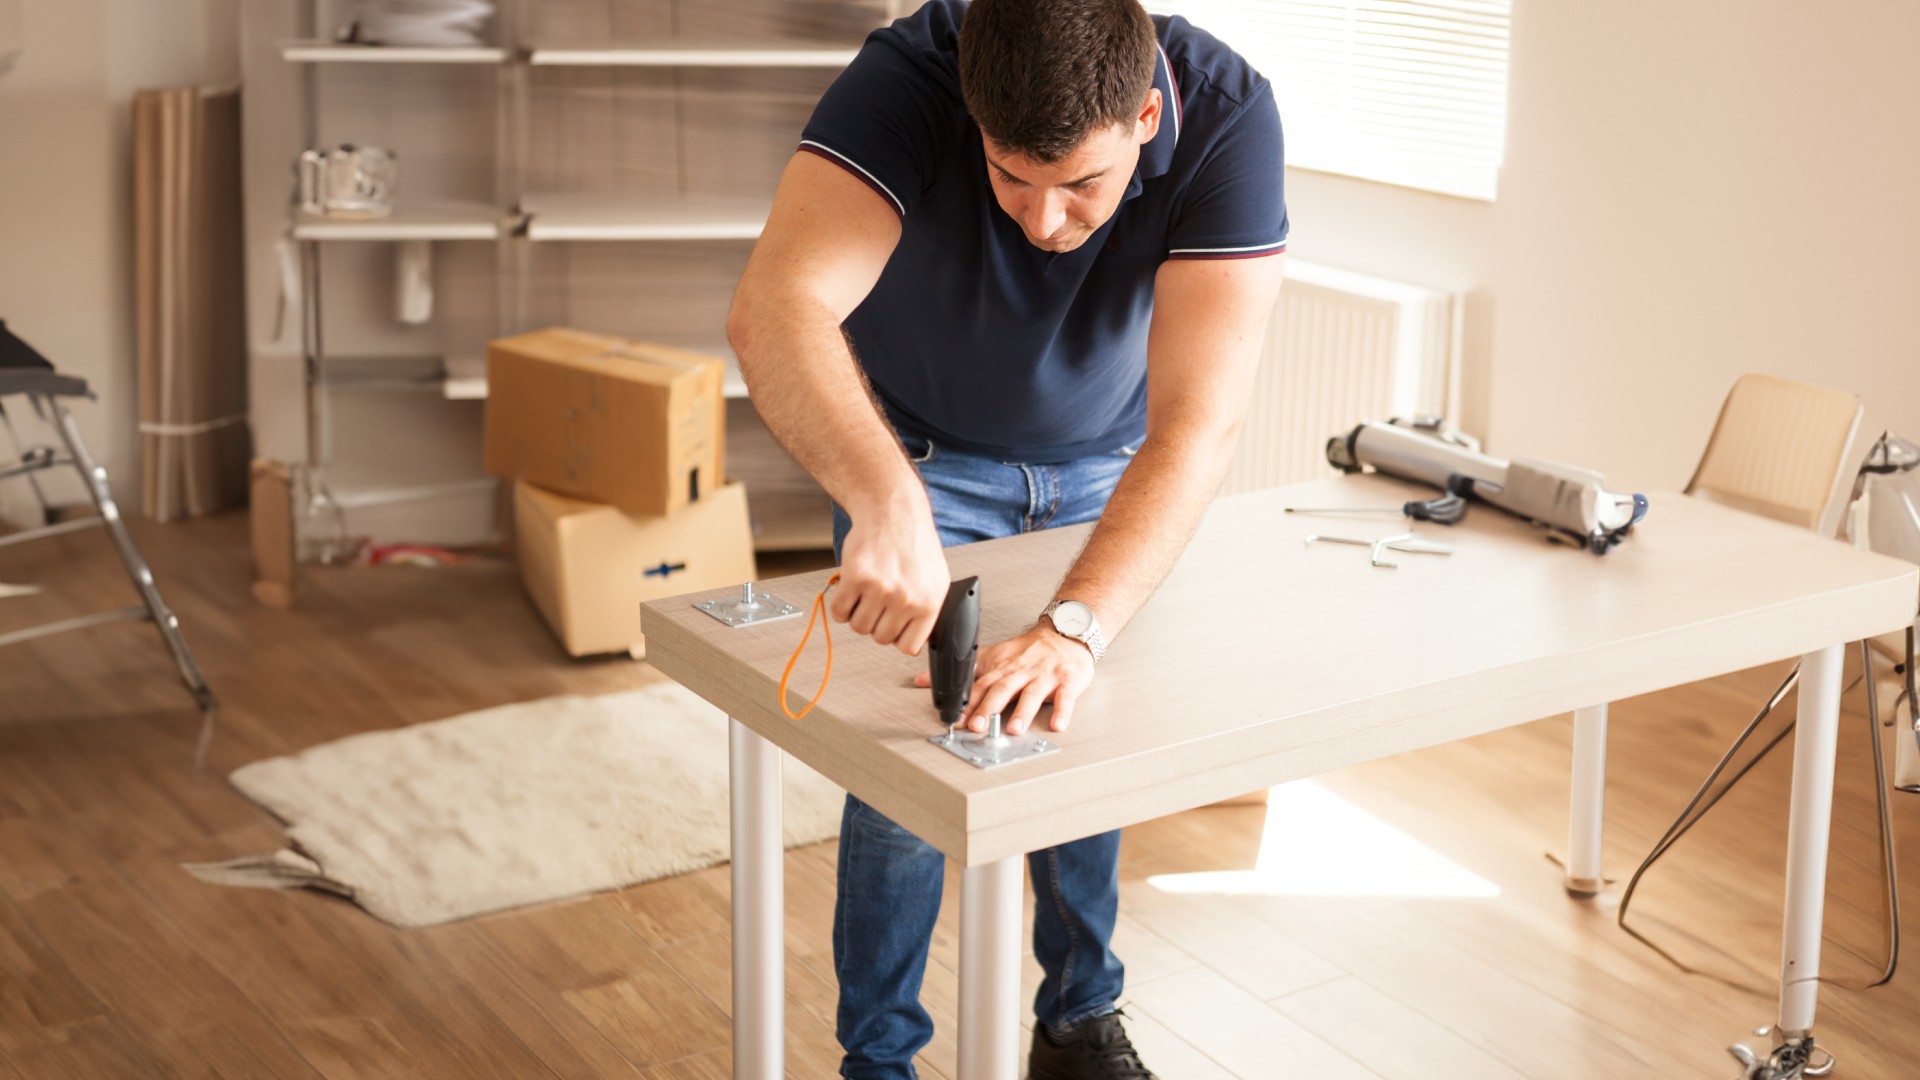
Step 3: Assemble the Base
Your desk base will consist of two storage cabinets or cube units:
-
- Place the cabinets parallel to each other, leaving enough space in between for legroom.
- Ensure the cabinets are level for a stable desk.
- Use screws or brackets to secure the cabinets to the floor or wall if necessary (especially for younger kids who might climb).
Step 4: Attach the Desktop
Now it’s time to add the desk surface:
-
- Place your pre-cut wooden board on top of the cabinets.
- Secure the board to the cabinets using brackets or screws. Make sure the desktop is flush with the edges of the cabinets for a clean look.
- Check that everything is level and sturdy before moving on.
Pro Tip: Opt for a durable finish, like laminated boards, to withstand spills and scratches.
Step 5: Add Upper Storage (Optional)
If you want to take your desk to the next level, add extra storage above the desktop:
-
- Floating shelves: Use wooden boards and brackets to create shelves for books or decorative items.
- Pegboard: Attach a pegboard to the wall above the desk for hanging stationery, scissors, and small baskets.
- Corkboard or whiteboard: Perfect for pinning reminders, schedules, or creative art displays.
These additions help keep the desktop clutter-free while providing easy access to essentials.
Step 6: Personalise and Decorate
Now for the fun part – personalisation to make the desk truly your child’s own!
-
- Paint or stain: Choose a colour that matches your child’s room or let them pick their favourite. Consider chalkboard paint for a fun, writable surface.
- Labels and bins: Add labelled storage bins to keep everything organised.
- Desk accessories: Include a desk lamp, pencil holder, and comfy chair to complete the setup.
And as usual, Timbercity is here to help every step of the way – chat to us now.
Why This DIY Desk is a Winner
Here’s why this project is worth your time:
-
- Saves space: With built-in storage, this desk is ideal for small bedrooms or shared spaces.
- Encourages focus: A tidy, designated study area helps kids stay on task during homework or crafts.
- Customisable: Adjust the dimensions, colour, and storage options to suit your home and your child’s needs.
Shop the Essentials
Ready to start building? Browse Timbercity’s wide range of wooden boards, cabinets, and other storage solutions to find everything you need for your DIY desk project.
Building a DIY kid’s desk with storage is a rewarding project that combines creativity with practicality. Whether your child is tackling homework or exploring their artistic side, this custom desk provides the perfect space for learning and fun.
We’d love to see your creations! Share your DIY desks with us to inspire other parents to get crafting.