Looking for a simple and practical solution to organise some things around the house? This easy and rewarding DIY Wooden Peg Rail project is just for you. A wooden peg rail serves as a convenient hanging system for items such as coats, hats, etc. It can also help you organise school supplies neatly, such as backpacks, jackets and much more.
Ready to learn how to create your very own DIY wooden shaker peg rail? Let’s get into it.
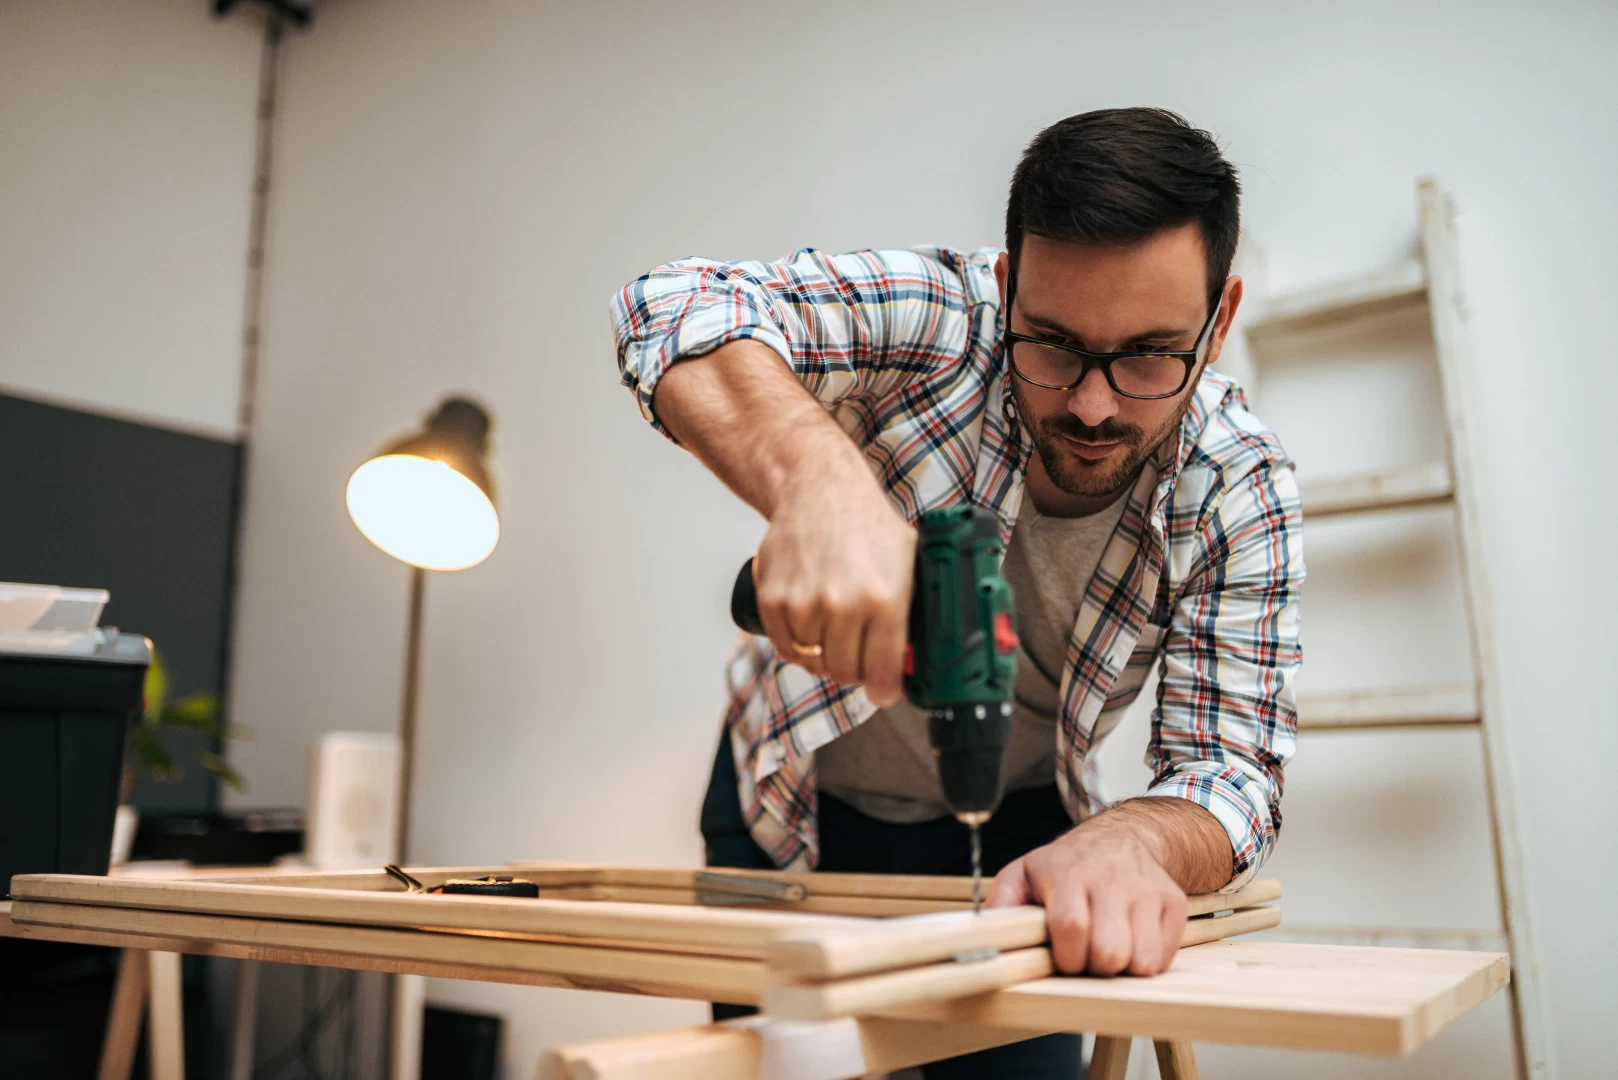
Tools and Materials Needed
You will need the following list of tools for the project:
- Carbon paper and pen
- G-clamps
- Jigsaw
- Paintbrush
- Mohair paint roller and tray
- Measuring tape
- Steel ruler
- Pencil
- Drill with 18mm spade bit
- Mallet
Below is a detailed shopping list of items you will also need:
- Template
- 6mm Supawood
- Plascon School Board Paint
- Double-sided tape
- 32mm x 69mm x 1.8m PAR pijne
- Vice grip
- 18mm x 1.8, dowl stick
- 100-grit sandpaper
- Alcolin Fast Set Wood Glue
- 2 x Slotted Mirror Plates
Step-by-Step Guide to Creating Your Wooden Peg Rail
Step 1: Preparing the Labels
Download and trace the label template onto Supawood.
Secure the Supawood to your work surface with the G-clamps and cut out the shapes.
Proceed to paint them with Plascon School Board Paint – we recommend a second coat after the first one has dried.
Step 2: Cutting and Preparing the PAR Pine
Measure, mark, and cut 945mm on the PAR pine with your jigsaw.
Mark the centre of the plank lengthwise and then mark intervals of 135mm on the centre line.
Drill 6 holes all the way through the plank with the spade bit and then sand until smooth.
Step 3: Assembling the Peg Rail
Mark 6 intervals of 100mm on the dowel stick. Secure the dowel in a vice grip and cut the 100mm pieces. Sand the edges of the plank and the dowels smooth.
Apply wood glue to the holes in the plank. Insert the dowels in the holes; use the mallet to make them go all the way through.
Step 4: Finishing Touches
Attach the slotted mirror plates to the back of your coat rack and hang on the wall. Attach the black board labels above the coat rack and write your kids’ names on them with chalk.
FAQ’s:
Q: Can I customise the size of the peg rail?
Yes, you can. Whether you want a longer rail to accommodate more items or a shorter one for a smaller area, adjusting the size of the peg rail is entirely feasible.
Q: How can I ensure the pegs are securely attached?
You can apply wood glue to the base of each peg before inserting them into the drilled holes for a sturdy fit.
Q: What alternatives can I use if I don’t have Plascon School Board Paint?
If you don’t have Plascon School Board Paint for your project, you can consider using alternative materials such as chalkboard paint or acrylic paint.
Q: Can this peg rail be used for items other than school supplies?
Yes, it can be used for hanging coats, hats, bags, keys etc.
This DIY wooden peg rail project is not only a fun and creative way to spend time but also results in a functional piece that adds organization and a personal touch to your home. Your kids or family members will love the time and creativity you spent working on this wooden peg rail. Follow these steps and enjoy the satisfaction of making something useful and stylish for your family.