How to Assemble a DIY Coffee Table: A Step-by-Step Guide
Coffee tables are known for bringing a living room space to life. The simplicity and sophistication it adds to a room, is all the more reason why building your own coffee table is something to tick off your list. If you’re looking to make your home feel homier, we highly recommend giving this fun DIY project a try!
Tools and Materials Needed
To help you get started, below are all the essential tools you would need to go ahead with your coffee table installation:
- Power drill
- Screws and a screwdriver
- Measuring tape and level
- Saw and sandpaper
- Wood glue is optional
For the actual coffee table itself, you will need:
- 368mm x 600mm x 2 sides
- 1200mm x 600mm x 2 top and bottom
- 368mm x 600mm x 4 dividers
- 350mm x 600mm x 1 shelf
- Screws and castors

Step-by-Step Assembly Instructions
Step 1: Building the Box Frame
First make an L-shape, by connecting the top (1200 x 600) to one of the sides (368 x 600).
Drill pilot holes, countersink holes, apply wood glue and fasten together with screws.
Repeat the same process to make the bottom and the other side.
Fasten the two L shapes together, also drilling pilot holes, countersinking holes, applying wood glue, and fastening together with screws.
Step 2: Constructing the Shelf Section
Now it’s time to build the shelf section. Fasten the shelf (350 x 600) to two of the four dividers (368 x 600 x 2) to create an H shape, with equal spaces above and below the shelf.
Step 3: Inserting the Shelf into the Box
Insert the shelf section into the box. Measure carefully to ensure that you position the shelf section centrally in the box. Then drill pilot holes, apply wood glue, and fasten with screws from the top and bottom.
Step 4: Adding the Remaining Dividers
Now insert the two remaining dividers (368 x 600 x 2). Measure carefully to ensure that you create equal spaces on both sides of each divider. Secure the dividers using wood glue and screws.
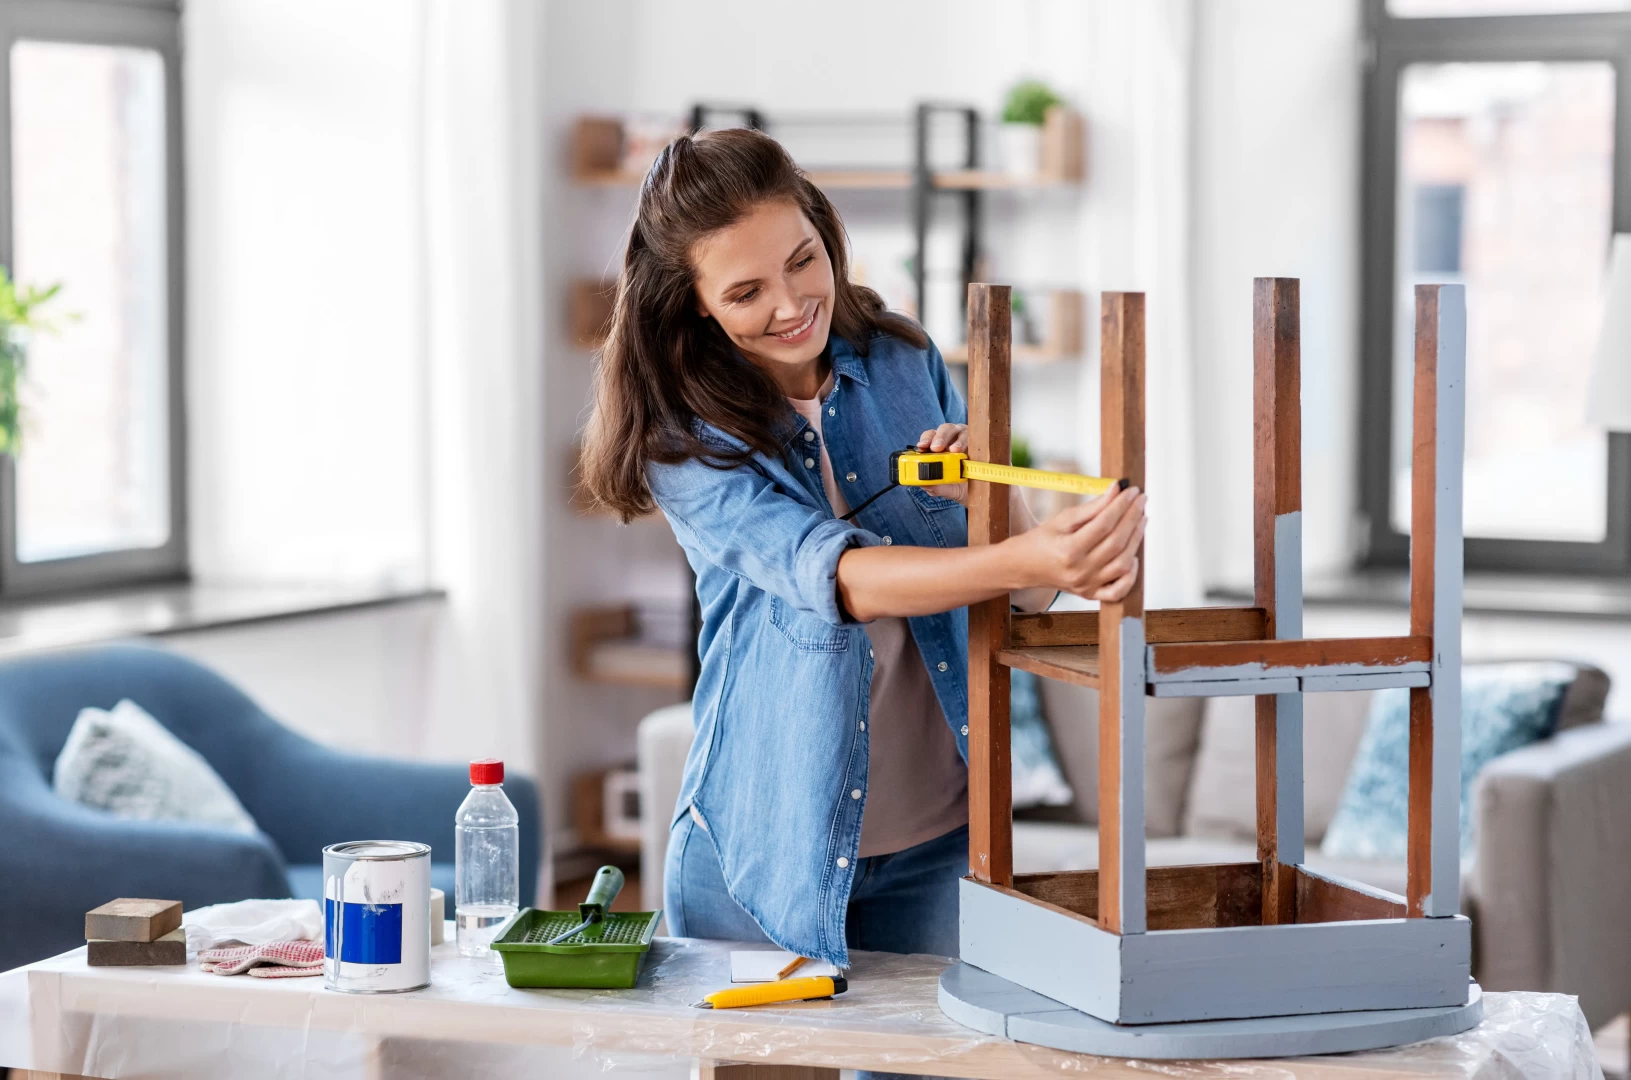
Step 5: Adding Finishing Touches
Add the finishing touches by turning the unit upside down and connecting the castors to the four corners of the bottom. Paint the unit to suit your décor.
Assembling a DIY coffee table is a fulfilling project that allows you to create a custom piece of furniture for your home. By following these step-by-step instructions, you can construct a stylish and functional coffee table that reflects your personal taste and meets your needs.
FAQs
Q: Can I customise the size of the coffee table?
Yes, you can customise the size of the coffee table to suit your specific preferences and needs. Simply modify the measurements of the tabletop and legs according to your desired size.
Q: How can I ensure the coffee table is sturdy?
We suggest using strong, quality materials such as solid wood or metal for the tabletop and legs for stability. Also make sure to follow the assembly instructions carefully and to add additional support such as braces or corner brackets.
Q: What are some alternative finishes I can use?
Stains are ideals as they enhance the natural beauty of wood whilst providing protection. Paint, on the other hand, allows for unlimited colour options and can add an exciting pop of colour.
Q: Can I add additional shelves or drawers to the coffee table?
You can add open shelves beneath the tabletop or between the legs of the coffee table. These shelves can be used to store books, magazines, baskets, or other decorative items such as candles.