Designing and Building a Custom Wine Rack: Where Craftsmanship Meets Cabernet
If you’re a wine lover with a flair for DIY, building a custom wine rack is the perfect blend of form and function. It’s more than just a way to store your favourite bottles – it’s a statement piece, a conversation starter, and a satisfying project rolled into one. Whether you’re showing off your prized vintages or just keeping your go-to reds within reach, a wine rack you built yourself adds a personal touch you won’t get off the shelf.
Let’s talk about the why, how, and what you need to build a wine rack that fits your space, your style, and your vino dreams. And to make sure your project starts strong, we’ll show you how Timbercity can help you source top-quality materials and expert support every step of the way.
Why Build a Custom Wine Rack?
Sure, you could grab a mass-produced wine rack from a shop. But where’s the fun in that?
Here’s why going custom is worth it:
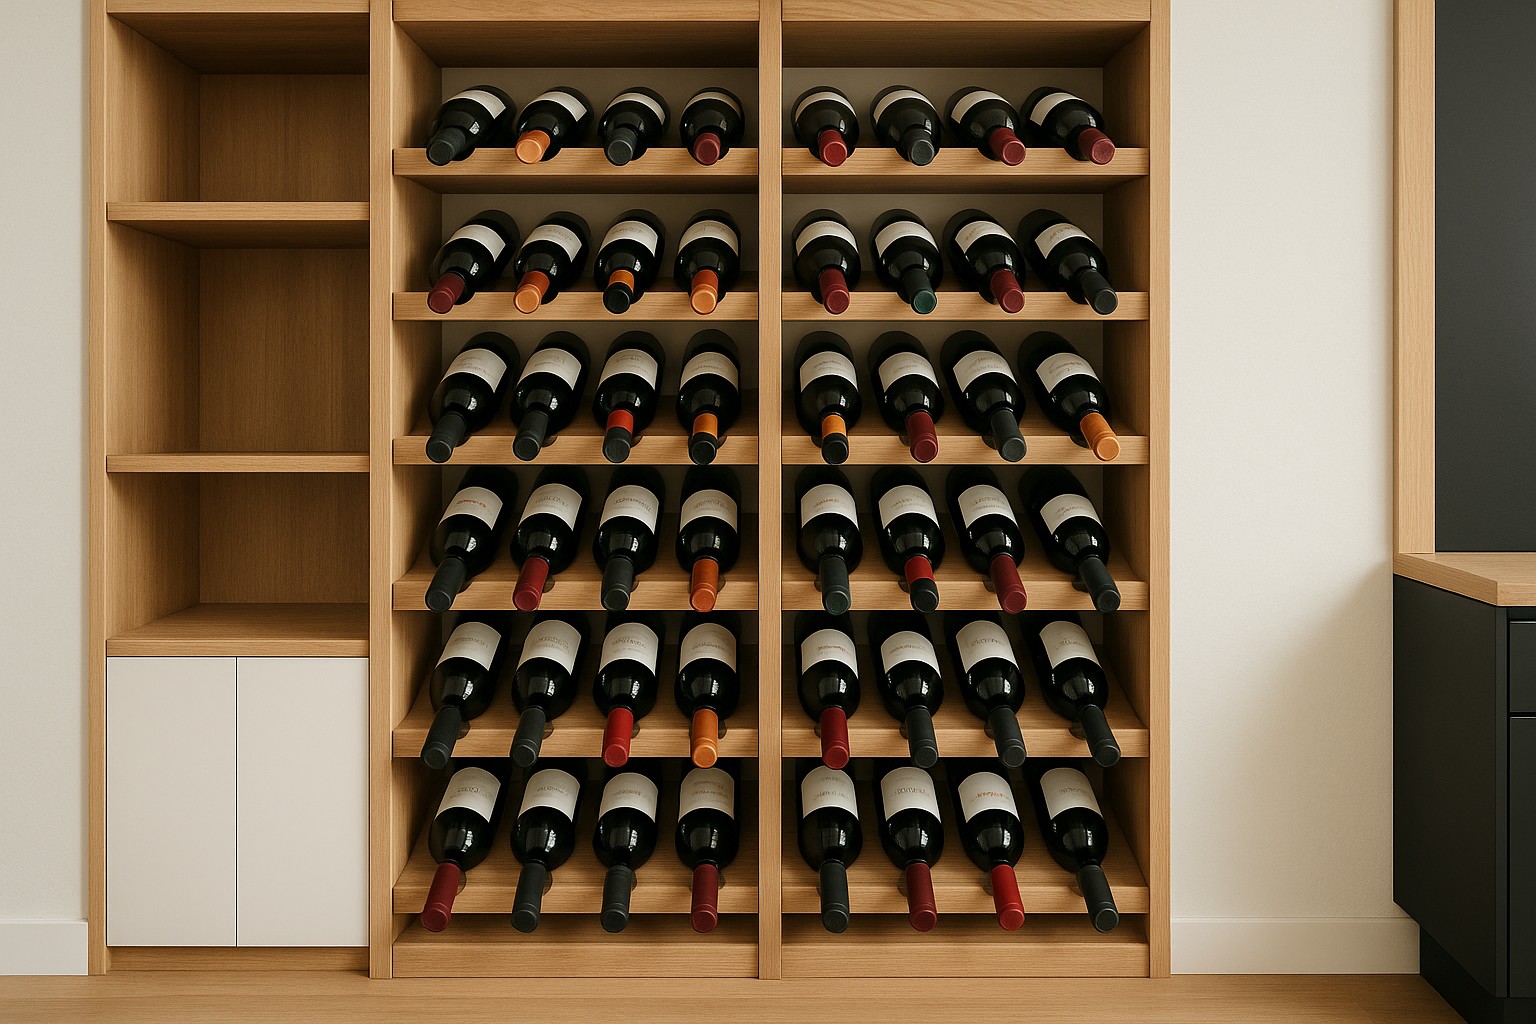
- Unique Style: Your wine rack, your rules. Whether you want a sleek modern display or a rustic wall-mounted design, a personalised wine rack showcases your taste as much as your wine collection.
- Tailored Dimensions: Tight corner? Open wall? Odd space under the stairs? A custom build means the rack fits your space perfectly.
- Enhanced Function & Aesthetics: Add features like built-in glass holders, angled bottle displays, or integrated shelving for accessories.
- Long-Term Value: A well-built custom wine rack ages like fine wine—it’ll outlast cheap store-bought options and look better doing it.
Planning Your Wine Rack Design
Before you start sawing and staining, take time to plan. A thoughtful design will save you time and give you a polished final product.
1. Choose Size, Capacity & Style
- How many bottles do you want to store—6? 60? More?
- Do you prefer horizontal storage (best for keeping corks moist) or upright?
- What style suits your home—rustic, modern, industrial, or minimalist?
2. Decide on Location
Your rack’s design will depend a lot on where you plan to place it:
- Kitchen counter or under-cabinet
- Dining room wall-mounted feature
- Floor-standing unit in a wine nook or cellar
- Built-in wine and bottle holder for a custom bar
3. Pick Your Materials
The most popular choice is wood—it’s classic, sturdy, and easy to work with. Options include:
- Oak: Durable and beautiful for a timeless look.
- Pine: Lightweight and rustic.
- Hardwood: Sleek, strong, and built to last.
Don’t forget to plan your finish – natural woodgrain, painted colours, or rich stains. Need ideas? Visit Timbercity’s Get Inspired page for a creativity boost.
Tools and Materials You’ll Need
Materials:
-
- Wooden planks or boards (pre-cut or raw)
- Screws, pop rivets, or nails
- Wood glue
- Wall brackets (for wall-mounted designs)
- Pins or dowels for joints
Tools:
- Tape measure & pencil (precision is everything!)
- Circular or table saw
- Drill and bits
- Sander or sandpaper
- Paintbrush or cloth for staining
Stock up on everything you need at Timbercity – our selection of materials and tools will get your project off on the right foot.
Step-by-Step: How to Build Your Custom Wine Rack
Now for the fun part—building!
Step 1: Design and Measurements
Start with a sketch (yes, even a rough one helps). Decide on:
- Number of rows and columns
- Bottle spacing (at least 9–10 cm per bottle horizontally)
- Overall height, width, and depth
Measure twice, cut once. Always.
Step 2: Cutting the Wood
Using your measurements, cut:
- Side panels
- Horizontal slats or supports
- Dividers or cradles to hold the bottles snugly
Pro tip: Use a jigsaw or hole saw to cut semi-circles into cradles if you’re going for a scalloped bottle holder design.
Step 3: Assembly
- Use wood glue and screws/dowels to attach horizontal supports to the side panels.
- Secure all corners with brackets or additional screws.
- Check for squareness and stability with a carpenter’s square.
For wall-mounted racks, install secure brackets and ensure your rack is anchored into studs for maximum safety.
Step 4: Sanding and Finishing
- Smooth all edges with sandpaper or a sander.
- Wipe off dust and apply your chosen stain, paint, or clear sealant.
- Let it dry thoroughly between coats for a smooth, lasting finish.
Step 5: Mounting or Placement
Once the finish is dry:
- Wall-mounted? Use a level and install your brackets into studs.
- Freestanding? Make sure it’s stable and won’t tip—add small rubber feet or a base if needed.
Customisation Ideas
Time to give it personality!
- Paint or stain to match your décor—classic dark stain, modern grey wash, or bold colour.
- Engrave names, quotes, or logos for a custom touch.
- Add lighting—LED strips under each row create a stunning display.
- Turn your project into a custom wine cabinet with doors, drawers, and built-in storage for glasses or openers.
When to Go Pro: Building a Custom Wine Cabinet
Planning something bigger—like a full wine cellar or integrated kitchen cabinet with storage? That’s when you might want to team up with the pros.
With Timbercity, you can request custom cuts, materials, and even large-scale design support for wine cabinets or full-room builds.
Need help scaling up your project? Visit Timbercity’s Request a Quote page and let them assist with your dream wine display.
Last Tips
- Avoid rushed measurements—they’re the #1 cause of project frustration.
- Pre-drill holes to prevent wood from splitting.
- Choose the right finish to match your environment (e.g., waterproof sealant for humid spaces).
- Use Timbercity’s premium materials for better stability, durability, and appearance.
Ready to build something worth showing off? Whether you’re crafting a compact counter rack or going all-in on a wine and bottle holder cabinet, Timbercity is your go-to partner in DIY. With the right tools, the best wood, and a touch of creativity, your custom wine rack will be something to raise a glass to. Cheers!