Design and Build Your Own Wooden Planters
Plant Style, Elevated
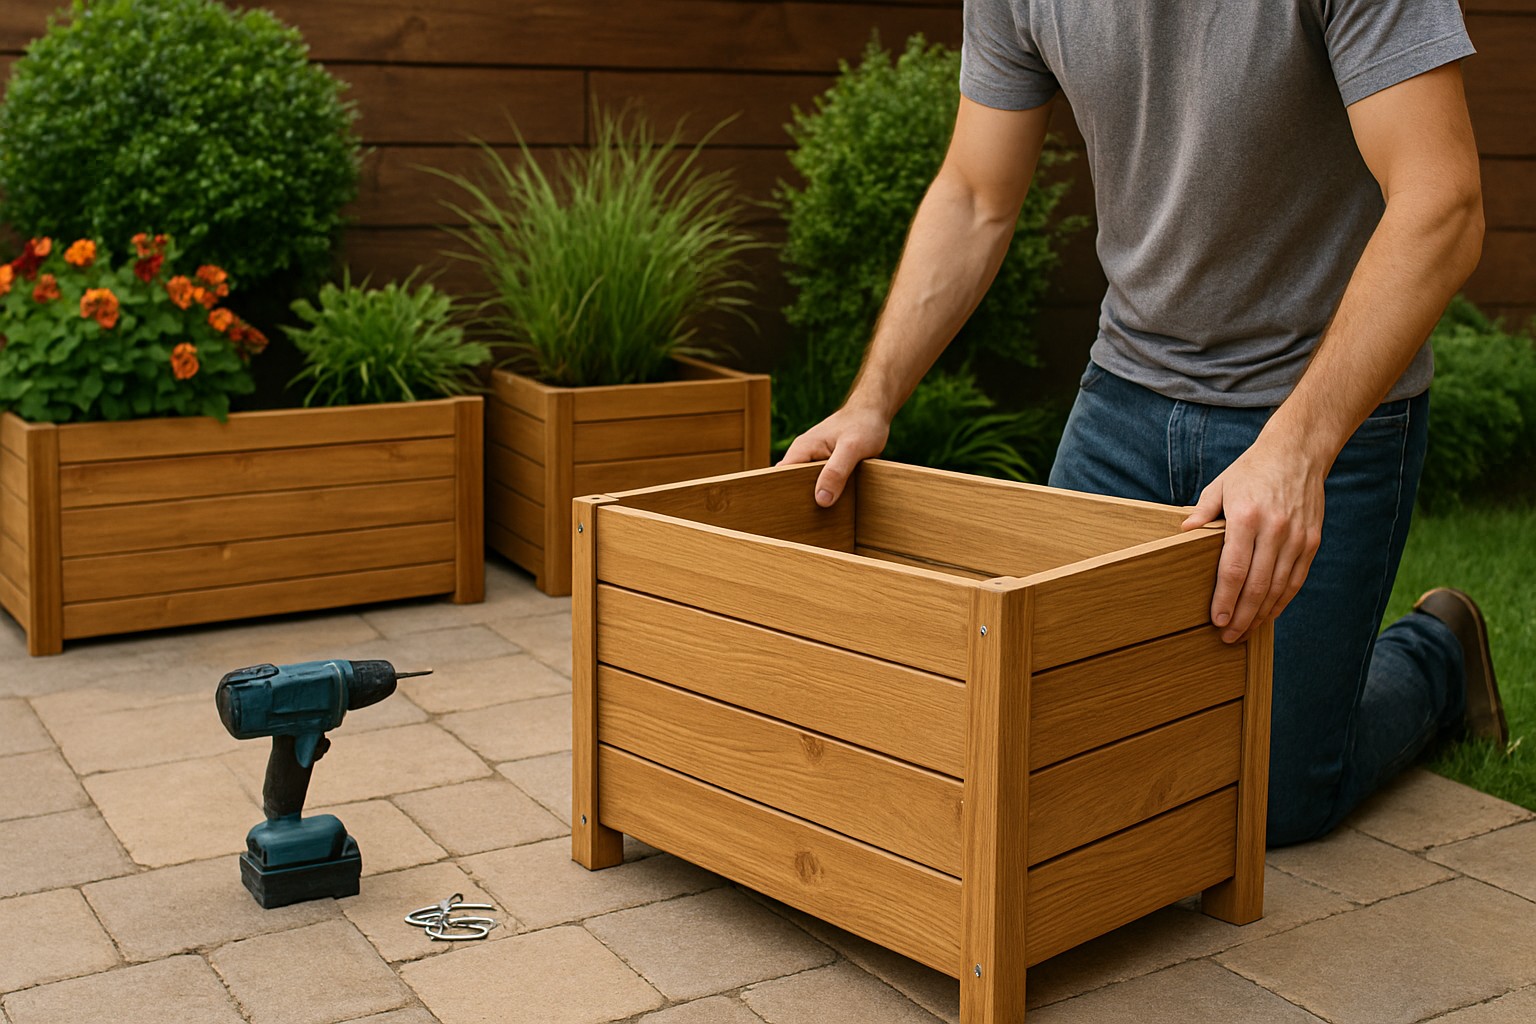
Nothing says “garden goals” quite like a handcrafted wooden planter. Whether it’s a tall standing box on the patio or a neat flower trough under your kitchen window, a custom wooden planter instantly adds charm and character to your outdoor space. Even better? You can build one yourself—and enjoy every step of the process.
This guide will walk you through everything: from choosing your materials to assembling, finishing, and even adding a few custom features. With help from Timbercity, your trusted source for quality wood and expert advice, you’ll be planting in style in no time.
Why Wooden Planters Are Worth Building
Here’s why going the wooden route (especially the DIY kind) is worth it:
- They Look Great
Wooden planters blend naturally into outdoor spaces. They age beautifully and can be customised to match any aesthetic—sleek modern, rustic farmhouse, or cottage-core charm. - Built for Your Space
Have a tricky corner or narrow balcony? You can build a box to fit it perfectly—no compromises. - Durable and Dependable
With the right materials and treatment, a wooden planter can last for years—weathering the elements with style.
With Timbercity’s wide range of timber, including hardwoods and weather-resistant options, building your own planter is more accessible (and satisfying) than ever.
Choosing the Right Wood and Hardware
Your planter is only as good as the wood you build it from. Let’s look at some popular options:
- Pine
Easy to work with and budget-friendly. Best for covered areas or when sealed properly. - Cedar
Naturally resistant to rot and insects—great for direct contact with soil and moisture. - Hardwoods (like meranti)
Long-lasting and visually rich. A great choice if you want a premium look and plan to keep your planter outdoors year-round.
Tip: When shopping for timber, think durability and drainage. For constant soil contact or extreme weather, opt for rot-resistant wood—and line the interior for added longevity.
Need help selecting the best wood for your climate or project size? Just request a quote and Timbercity will guide you.
Design Options: Boxes, Troughs & Raised Beds
Whether you’ve got a sprawling backyard or a sunny balcony, there’s a planter style to match:
-
- Rectangular Wooden Planter Box
Classic and versatile. Perfect for herbs, flowers, or small veggies. - Narrow Wooden Flower Trough
Great for windowsills or railings. Adds colour without taking up space.
- Rectangular Wooden Planter Box
- Tall Standing Planters or Raised Beds
Ideal for patios or urban gardens. Easy on the back and excellent for deep-rooted plants.
Drainage & Lining
Drill several holes in the base of your planter and line the inside with landscaping fabric or plastic (with holes punched in). This keeps soil in and water draining.
Fixed vs. Modular
- Fixed Planters: Sturdier, often more decorative.
- Modular Planters: Can be rearranged or stacked to grow with your garden.
Need ideas? Browse Timbercity’s Get Inspired section for creative takes on planter boxes and other outdoor DIYs.
Tools & Materials Checklist
Make sure you have everything before you start sawing:
Materials:
-
- Wood planks (pre-cut or full lengths)
- Screws or nails (rust-resistant)
- Lining material (plastic, landscape fabric, or pond liner)
- Optional: corner brackets, handles, wheels, trellis pieces
Tools:
- Saw (hand or power)
- Drill and bits
- Screwdriver
- Measuring tape
- Clamps
- Sandpaper or sander
You can get timber and fixings—plus helpful advice—from your nearest Timbercity branch.
Build Guide: Step-by-Step
Ready to roll up your sleeves? Let’s get building.
Step 1: Measure & Cut
Decide on your planter size and cut your panels:
-
- 2 long sides
- 2 shorter end panels
- 1 base panel
Use a mitre saw for clean, straight cuts. Measure twice!
Step 2: Assemble the Box
Pre-drill your holes to avoid splitting. Use rust-resistant screws to join the sides to the base and ends. A clamp helps keep everything aligned.
Step 3: Reinforce the Corners
Add L-brackets or extra screws at the corners for stability—especially for larger or raised planters.
Step 4: Line It Up
Line the inside with plastic or fabric to keep soil from sitting directly on the wood. Don’t forget to poke drainage holes through the lining.
Step 5: Finishing Touches
Give your box a once-over with sandpaper, then paint, stain, or seal. Use an outdoor-grade sealer to help protect against moisture and sun exposure.
Now you’ve got your very own wooden planter box—built by hand, tailored to your space.
Custom Features & Finishing Touches
Take your planter to the next level:
- Paint or stain to match your garden aesthetic.
- Add wheels to move it around with the sun.
- Attach a trellis for climbing plants like peas or jasmine.
- Install handles for easy lifting.
- Label sections for herbs or veggies.
You can even create a raised base inside the planter to improve insulation and drainage.
Estimated Cost vs. Buying New
Let’s talk savings. A store-bought hardwood planter box or wooden flower trough can cost a pretty penny—especially in larger sizes. By sourcing materials from Timbercity and doing the work yourself, you could save significantly while building something sturdier and better suited to your space.
Need exact numbers? Get your timber pre-cut and priced by requesting a quote from Timbercity.
Grow Something Great
There’s something uniquely satisfying about building your own planter and watching it bloom—literally. With a few tools, a bit of timber, and this guide, you’re well on your way to a garden that’s truly your own.
Proud of your planter? Share your DIY photos and tag Timbercity – they love seeing your projects come to life. And if you’re itching for your next weekend build, check out more creative ideas on Timbercity’s Get Inspired page.
Now, go ahead—get planting.