Cluttered patios, scattered cushions, kids’ toys, and braai gear, sound familiar? If your outdoor space is more chaos than calm, it might be time for a smart storage solution. A well-built outdoor storage bench not only keeps things tidy but also doubles as extra seating for family and guests. Using Timbercity’s range of durable boards, treated timber, and corrosion-resistant hardware, you can create a weather-ready bench designed to last. In this guide, we’ll walk you through sizing, materials, cut lists, step-by-step assembly, and maintenance tips, so your new bench is as practical as it is stylish.
For more DIY inspiration, check out Timbercity’s DIY storage bench tutorial or explore ideas on Get Inspired.
Plan Your Build: Size, Capacity and Site
Before grabbing a saw, plan your bench with your space, users, and intended storage in mind.
Bench Use Cases:
- Dual-purpose seating + hidden storage
- Standard seat height: ~450–480 mm
- Depth: ~500–550 mm
- Length: 1.2–1.5 m
Site Considerations:
- Covered patio vs full sun/rain exposure
- Level surface with drainage
- Clearance for hinged lid opening
Design Options:
- Hinged top or front-opening doors
- Optional backrest
- Fixed feet or outdoor-rated castors
Example Specs:
- Length: 1400 mm
- Seat height: 470 mm
- Seat depth: 520 mm
- Internal storage height: 350–400 mm
- Load capacity: two adults seated; reinforce span every ~400 mm
Materials That Last Outside: Timbercity Product Picks
Using the right materials ensures longevity and stability. Explore Timbercity boards, shutterboard, and melamine boards for your project.
Structural & Panels:
- CCA-treated pine for frame, slats, and rails – affordable and weather-resistant
- Exterior-grade plywood (WBP / marine) for panels and seat – stable, screw-holding, paintable
- Decking boards for slatted seats or cladding
- Optional hardwood trim with proper sealing
Hardware & Fixings:
- A2/A4 stainless or galvanised screws
- Angle brackets, flat braces, joist hangers
- Heavy-duty hinges or piano hinge
- Gas struts/lid stays for safe opening
- Optional padlock hasp & staple; vent grilles
- Rubber feet or outdoor-rated castors
Adhesives & Finishes:
- Exterior PU or waterproof glue
- Primer + UV-resistant paint or decking oil/varnish
- Exterior wood filler/sealant for ply edges
Services That Save Time
Make your project easier with Timbercity in-store services:
- Precision board cutting
- Edge banding/sealing
- Pre-drilling for hinges or hardware
- Expert material selection guidance
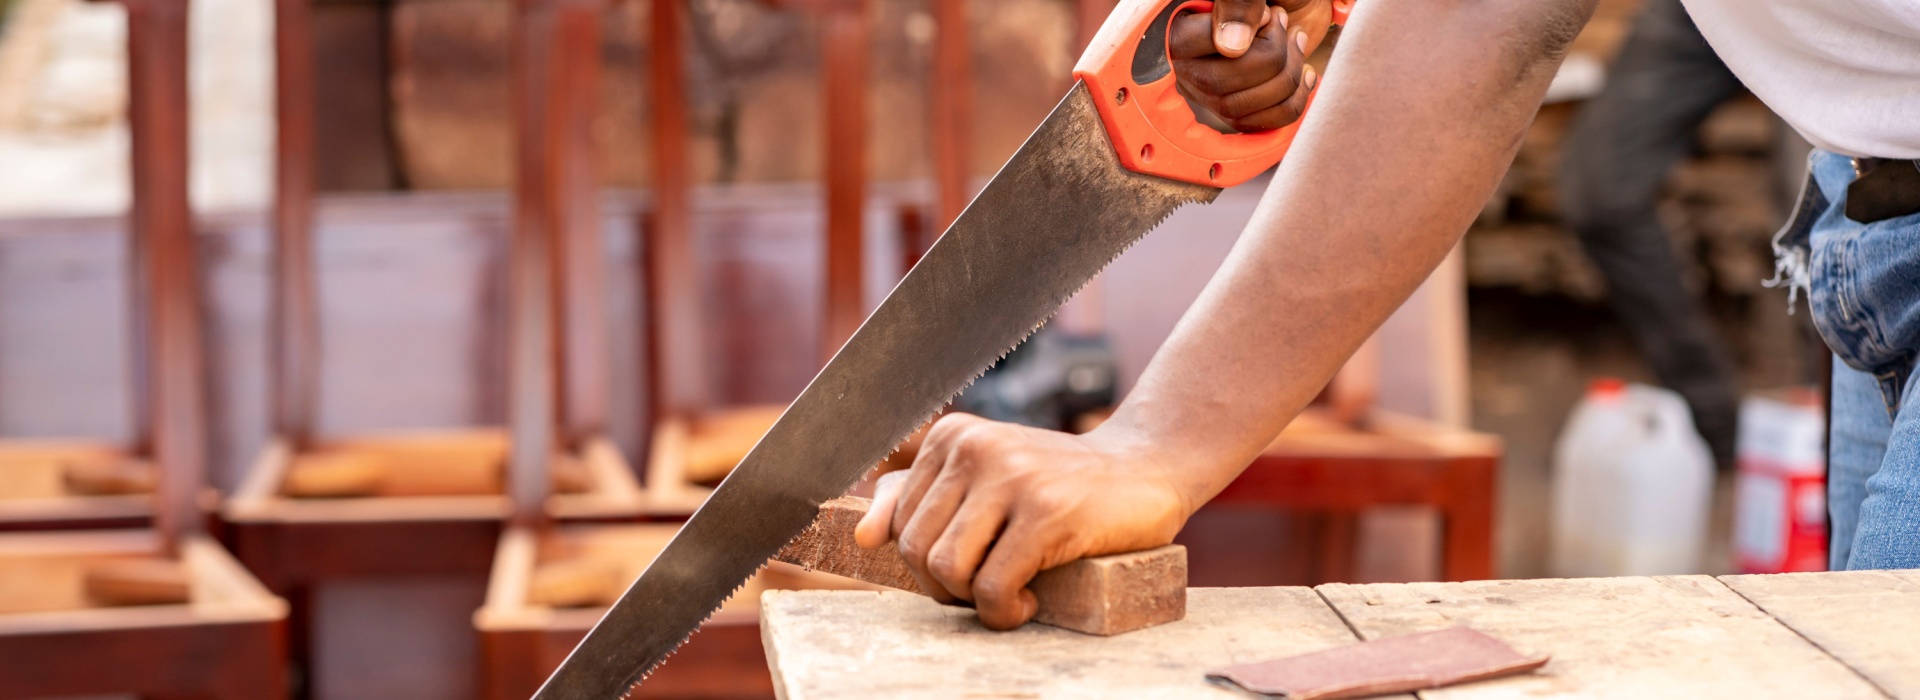
Tools You’ll Need
- Tape measure, square, pencil, clamps
- Drill/driver + pilot and countersink bits
- Jigsaw/circular saw (if not using Timbercity cutting service)
- Orbital sander + 80/120/180 grit sandpaper
- Brushes/rollers for paint; caulking gun for sealant
- PPE: safety glasses, dust mask, ear protection, gloves
Cut List (Example 1400 mm Bench)
-
- Frame Rails: 2 × 1400 mm, 2 × 500 mm (treated pine 44×69)
- Corner Posts: 4 × 400 mm (treated pine 44×69)
- Seat Frame: 2 × 1400 mm, 2 × 500 m
- Frame Rails: 2 × 1400 mm, 2 × 500 mm (treated pine 44×69)
- Seat Panel/Slats:
Option A: 6–8 × 1400 mm decking boards (19×90 mm)
Option B: 1 × 1400×520 mm exterior plywood
- Base Panel: 1 × 1360×460 mm exterior ply
- Front/Back Panels: 2 × 1360×350 mm exterior ply
- Side Panels: 2 × 460×350 mm exterior ply
- Lid Panel: 1 × 1400×520 mm exterior ply
- Backrest (Optional): per preferred height
Step-by-Step Build to A Durable Outdoor Storage Bench
1) Build the Base Frame
Start by laying out your treated pine rails and corner posts on a flat surface. Dry-fit all pieces first to ensure they align perfectly. Once satisfied, apply exterior wood glue to joints and secure with stainless or galvanised screws. Use a square to check that corners are 90° and brace the frame while the glue sets. This ensures a strong, level foundation for your bench.
2) Fit Base & Side Panels
Seal all edges of your exterior-grade plywood with waterproof sealer to protect against moisture. Attach the base panel to the frame, and add a central support if the bench span exceeds 700 mm to prevent sagging. Fix the side, front, and back panels with screws and adhesive, leaving a 2–3 mm expansion gap between panels for seasonal wood movement.
3) Add Internal Reinforcement
Install cleats or ledgers along the inside walls to support the seat or lid. For extra strength, add mid-span noggins beneath the seat frame to handle the weight of adults sitting on the bench. This step ensures your bench is stable and durable for years of use.
4) Assemble Seat/Lid
Option A – Slatted Seat: Lay decking boards across the frame, leaving 4–5 mm gaps for water drainage. Secure boards with screws, ensuring even spacing.
Option B – Solid Panel: Use exterior plywood cut to size. Bevel the edges and optionally add a drip groove underneath to prevent water pooling. Attach a hinge rail along the back and secure with a continuous piano hinge or two to three heavy-duty hinges for smooth operation.
5) Install Hardware & Safety Features
Fit gas struts or lid stays to prevent the seat from slamming shut. Install vent grilles for airflow to reduce moisture buildup. Optionally, add a hasp and staple for padlock security. Attach rubber feet or castors to lift the base off the ground and protect from wet surfaces.
6) Sand, Seal & Finish
Sand all surfaces and edges progressively up to 180 grit for a smooth finish. Fill screw holes or gaps with exterior wood filler, and seal all plywood edges. Apply a primer followed by two coats of exterior paint, or use two to three coats of decking oil or marine varnish, sanding lightly between coats for a long-lasting, weather-resistant finish.
Weatherproofing & Longevity Tips
- Keep bench off the ground; avoid pooling water
- Maintain finish annually
- Add internal liner or raised slats for airflow
- Partial cover or furniture cover during heavy rain
Customise Your Storage Bench
Making your outdoor storage bench truly yours goes beyond basic construction – it’s about blending style, comfort, and functionality. Here’s how you can personalise it:
- Add Backrest & Armrests
Turn a simple storage bench into a cosy seating area by adding a backrest or armrests. Choose heights and angles that provide comfort while keeping proportions in line with the bench frame. This transforms the bench into a multi-purpose piece for relaxing outdoors. - Install Internal Dividers
Keep cushions, toys, braai tools, or garden gear neatly organised with internal dividers. You can create compartments of different sizes depending on what you plan to store. This prevents clutter from piling up and makes everything easy to find. - Include Cushion Ties & Non-Slip Pads
Secure seat cushions with ties or Velcro strips to prevent sliding during use. Add non-slip pads under the bench feet or castors to protect decking or patio surfaces while keeping the bench stable. - Personalise Colour and Finish
Add personality with painted trims to match your exterior décor or maintain a natural timber look with oils or varnish. You can even mix and match finishes for a modern, coastal, or rustic aesthetic that complements your outdoor space.
Typical Bill of Materials
- Treated pine 44×69 (±14–16 m)
- Exterior plywood 18 mm (2 sheets 2440×1220 mm)
- Stainless/galv screws 4.5×60 mm (~150), decking screws 4.5×50 mm (~80)
- Piano hinge 1.2–1.4 m or 3 heavy-duty hinges
- 2 × gas struts + brackets
- Exterior primer + topcoat (1 L each) or decking oil/varnish (1 L)
- PU/exterior wood glue, exterior sealant, wood filler, rubber feet/castors
Safety First
- Use PPE and stable work surface
- Clamp boards before cutting
- Pilot holes to prevent splitting
- Support lid when installing struts
With a little planning, the right materials, and Timbercity’s expert support, building your own outdoor storage bench is not only achievable, it’s a chance to add style, function, and durability to your patio or garden. From CCA-treated pine frames to weather-resistant plywood panels, every component is designed to withstand South Africa’s outdoor conditions. Whether you’re a seasoned DIYer or tackling your first woodworking project, Timbercity provides the boards, tools, cutting services, and guidance you need to bring your vision to life. Ready to tidy up your outdoor space with a bench that works as hard as you do? Explore Timbercity’s range of materials, get inspired, and start your project today.
Frequently Asked Questions
- What wood is best for an outdoor bench?
Treated pine or decking timber with exterior-grade plywood panels; always seal edges. - How do I stop an outdoor bench from leaking?
Seal all edges, use continuous hinges, add drip grooves, and keep the bench slightly elevated. - Can I build a DIY bench without many tools?
Yes, Timbercity’s cutting service and a drill/driver make assembly straightforward. - Paint or oil for an outdoor bench?
Paint offers UV protection and colour; oil highlights the grain and is easy to refresh—both work if maintained.