The kitchen usually doesn’t announce that it needs a makeover. It just starts showing it.
A cupboard door that does not sit quite right. A hinge that needs adjusting again. A corner where nothing really fits the way it should.
At some point, small fixes stop being enough.
That is usually where a DIY kitchen makeover starts to feel like the better option.
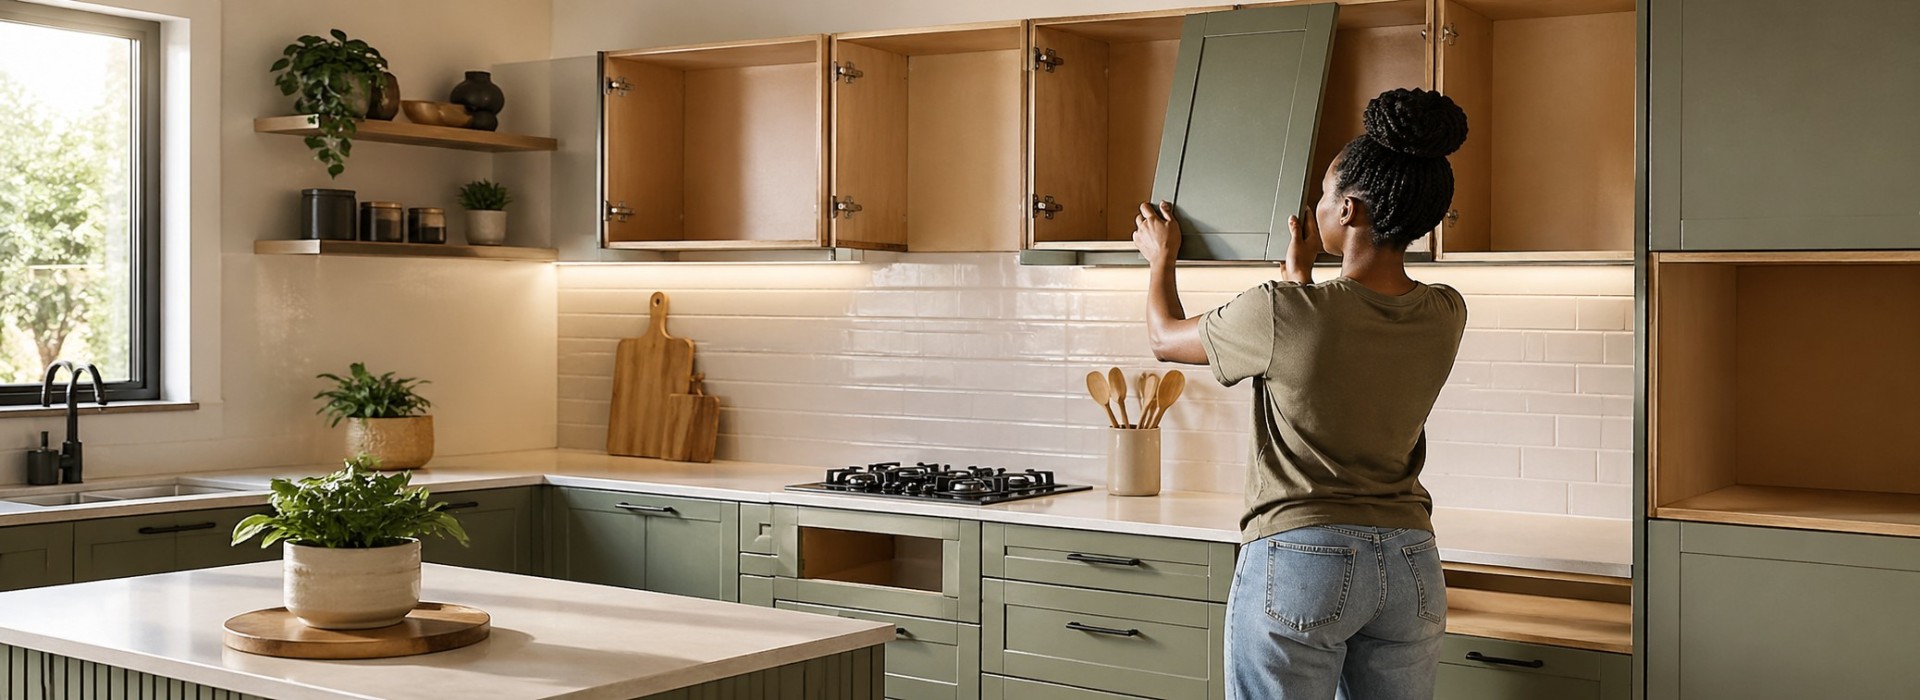
Not as a compromise, but as a practical way to take control of the space without going into a full renovation. Ready to install cupboards, make that possible. The key parts are already prepared. What is left is assembly and installation done properly.
Timbercity supports that process with cut-to-size boards, edging, and cupboard systems that remove guesswork and bring precision into the build. This guide covers the full process. Planning the layout, choosing materials, assembling cupboards, and installing them so everything fits the way it should.
Planning Your DIY Kitchen Makeover
This is the stage where most projects quietly decide how smooth or frustrating they are going to be.
The space feels open. The old cupboards are gone. It looks simple enough to start. That is exactly when planning gets rushed.
A kitchen is not forgiving when it comes to layout decisions. Small measurement errors do not show themselves immediately. They show themselves when the final unit doesn’t sit cleanly against the wall or when the workflow feels slightly off every time you use the space.
Key Factors to Consider
Layout and Measurements
This is where everything begins and where everything can go wrong if it is rushed.
The tape measure is not just for checking size. It’s defining how the kitchen will function every day.
Where the fridge sits matters. Where the sink lands matters. Even the spacing between work zones changes how the kitchen feels once it is complete.
You are not just measuring walls. You are mapping movement.
A well-planned layout makes installation predictable. A poorly planned one turns every step that follows into adjustment work.
Budget and Material Selection
Budget decisions in a kitchen project are never only about cost.
They influence durability, finish, and how much maintenance the space will need later.
Choosing cheaper materials might reduce upfront spend, but it often increases time spent fixing or adjusting after installation.
The better approach is balance. Spend where it affects strength and daily use, not just appearance.
Timeline and Preparation
DIY kitchen projects rarely fail because they are complicated. They fail because they are started too early.
Materials arrive before the space is ready. Cutting starts before the plan is final. Installation begins while decisions are still being made.
A better approach is sequencing.
Measure first. Confirm the layout second. Cut and prepare the third. Install last.
And before anything begins, the workspace should actually be ready to function as a workspace.
Design and Finish
This is the point where the kitchen starts to feel like a real space again rather than a construction zone.
Colour choices, textures, and hardware all start to come together here. Handles and surfaces should not feel like separate decisions. They should feel like part of the same idea.
If you want to see how cupboard customisation comes together in real kitchen and bathroom spaces,
Timbercity explores this in practical detail here.
Choosing the Right Material for DIY Kitchen Cabinets
This is where the project becomes real.
Once materials are chosen, everything that follows depends on how well those choices match how the kitchen will actually be used.
Melamine Board
Melamine is one of the most widely used materials in kitchen builds because it removes a layer of complexity from the process.
It comes pre-finished, which means there is no painting or sealing required after cutting.
It is practical, consistent, and reliable for everyday use.
It works especially well for cabinet carcasses and internal shelving where durability and ease of maintenance matter more than decorative finish.
MDF Board
MDF is chosen when finish quality becomes the priority.
Its surface is smooth and uniform, which makes it ideal for painted cabinet doors and decorative elements.
It allows for a clean, seamless look once finished, but it needs to be properly sealed to perform well in areas where moisture is present.
Plywood Board
Plywood is about strength and stability.
Its layered construction gives it durability that holds up well in high-use kitchens.
It is often used for structural components where load-bearing and long-term reliability matter most.
While it sits at a higher price point, it is often chosen for areas where longevity is the priority.
Material Overview
Melamine is best suited for cabinet carcasses and shelving with moderate moisture resistance and an affordable cost profile.
MDF is best suited for painted doors and finishes with lower moisture resistance but a smooth surface quality.
Plywood is best suited for structural components with high moisture resistance and premium durability.
For homeowners exploring ready-built kitchen solutions that simplify this selection process, Timbercity’s Insta Cupboards range provides pre-designed kitchen systems that are ready for installation.
How to Assemble Kitchen Cupboards Step by Step
This is the stage where flat boards become functional furniture.
It is also where small errors start to show if earlier steps were not handled carefully.
What Is Covered
Before anything is fixed, everything should be laid out clearly.
Panels, fittings, hinges, and fasteners should all be visible and accounted for.
Then the build begins in sequence.
- Assemble the carcass panels.
- Attach the base and back sections.
- Fit doors and hardware.
- Check alignment continuously.
- Prepare units for installation.
Key Assembly Tips
Always start with instructions rather than assumptions.
Work on a flat and stable surface so alignment does not shift during assembly.
Use fixings that are appropriate for the board type being used.
Check squareness at every stage because early alignment affects everything that follows.
Installing DIY Kitchen Cabinets Correctly
Installation is where planning meets reality.
Walls are rarely perfectly straight. Floors are rarely perfectly level. This is where preparation becomes visible.
Before Installation
Check levels across all surfaces before placing any units.
Locate wall studs so fixing points are secure.
Plan installation order so base units are installed before wall units.
During Installation
Allow for plumbing and electrical requirements before fixing anything permanently.
Use packers or shims to correct uneven surfaces.
Check alignment continuously rather than only at the end.
Common Mistakes to Avoid
Skipping level checks before installation begins.
Rushing assembly before confirming final measurements.
Using incorrect fixings for the material type.
Installing units in the wrong sequence.
Underestimating the time needed for final adjustments.
How to Match the DIY Kitchen Makeover to the Home
Every kitchen project starts from a different place.
Some begin with a full renovation plan. Others begin with worn cupboards that no longer serve the space properly.
Common project types include:
- Homeowners working within a tight budget who want visible impact
- Renovators updating older kitchens
- DIY builders who want full control over design and execution
- Small contractors sourcing reliable materials for client work
- Homeowners aiming for a modern finish without full contractor costs
The process is the same. The priorities change.
Tips for Building Long-Lasting DIY Kitchen Cabinets
A kitchen that lasts is built through consistent decisions, not single upgrades.
- Start with quality materials from a trusted supplier.
- Seal all exposed edges properly to prevent moisture damage over time.
- Use hardware that is designed for repeated daily use.
- Focus on accuracy during cutting and assembly because small deviations compound later.
- Where possible, use professional cutting and edging services to improve precision and reduce waste.
Why Source Materials from Timbercity?
A kitchen build is only as smooth as the materials behind it.
Timbercity supports DIY and professional projects with over 50 years of experience supplying boards, components, and cutting services across South Africa.
The range includes materials suited to all stages of kitchen construction, from structural boards to finished surfaces.
Custom cutting, edging, and drilling services help ensure that components fit correctly the first time, reducing adjustment work during installation.
In-store expertise also helps guide material selection so choices match both budget and performance needs.
For DIY builders and contractors alike, it provides consistency across the entire build process.
Build the Kitchen You Want with the Right Materials
Every kitchen starts as a simple idea about change.
The outcome depends on how that idea is carried through planning, material selection, and execution.
- Good planning creates direction.
- Good materials create durability.
- Good preparation creates precision.
The rest is just assembly.
Visit Timbercity in-store or online to explore materials, cutting services, and ready-to-install kitchen solutions that help bring the project together properly from the start.
Frequently Asked Questions
What is the best material for DIY kitchen cabinets?
Melamine is commonly used for carcasses, MDF for painted finishes, and plywood for structural strength.
How do I plan a DIY kitchen makeover on a budget?
Start with layout planning, prioritise essential functions, and choose materials that balance cost and durability.
How do I assemble kitchen cupboards correctly?
Follow instructions carefully, work on a flat surface, and check alignment throughout the process.
Is melamine board good for kitchen cupboards?
Yes, it is durable, easy to maintain, and widely used for kitchen cabinets and shelving.
Where can I buy DIY kitchen materials in South Africa?
Timbercity offers boards, cutting services, and kitchen solutions across its nationwide branches.