In today’s homes, especially in apartments or small living spaces, the demand for compact and functional furniture is on the rise. With limited square footage, it’s essential to optimise every corner and surface to maintain a clutter-free, open feel.
Maximising Space & Enhancing Aesthetics
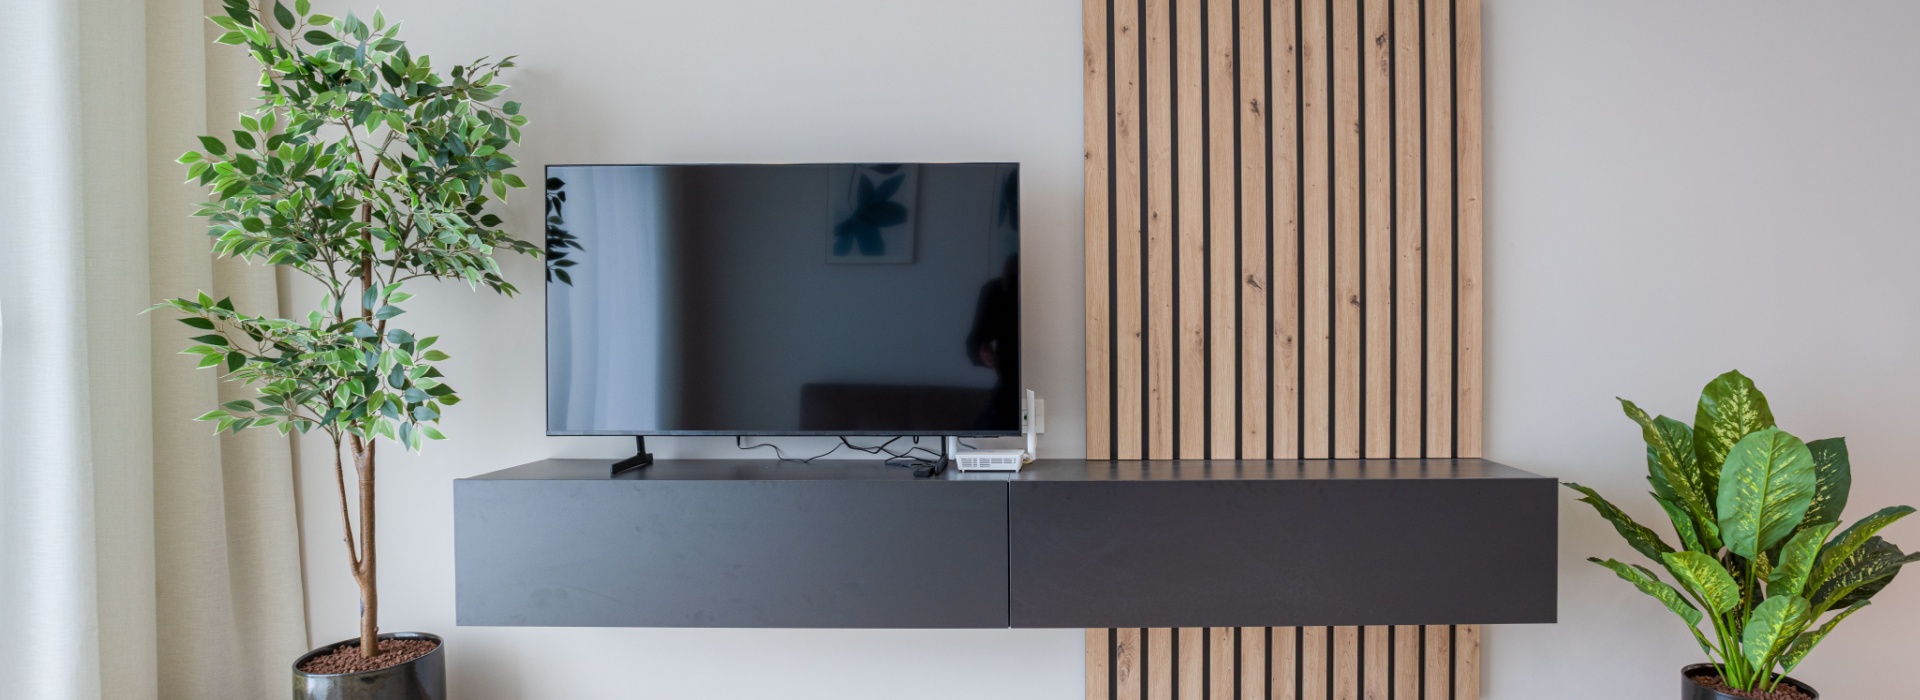
A floating corner TV stand is a brilliant solution to free up floor space while giving your room a sleek, airy look. By elevating your TV and accessories off the ground, you create the illusion of more space—perfect for cosy living rooms or compact apartments.
The Appeal of DIY Projects
What’s better than creating a piece of furniture tailored to your exact needs and style? DIY projects allow you to personalise your home, all while saving money. Plus, the sense of accomplishment from crafting something with your own hands? Priceless.
Understanding the Design and Benefits of a Floating TV Stand
Space Efficiency
The floating design of a corner TV stand eliminates bulky furniture, freeing up valuable floor space. This makes it a practical choice for tight quarters or multifunctional rooms.
Aesthetic Appeal
With clean lines and a minimalist design, a floating TV stand complements modern décor. It’s stylish yet understated, effortlessly blending into any room while enhancing its overall vibe.
Functionality
Beyond its good looks, a floating TV stand is highly functional. It offers storage for media devices like gaming consoles, streaming devices, or DVDs, while hiding messy cables to maintain a tidy appearance.
Perfect for Small Apartments or Rooms
Compact spaces benefit the most from floating TV stands. By utilising corner areas and elevating furniture, you maximise the usability of your room without overcrowding it.
Step-by-Step Guide: How to Make a Floating Corner TV Stand
Materials Needed
Gather your materials before you begin. Timbercity’s sustainable timber and wood boards will be perfect for the job. You’ll also need screws, metal brackets, and wood glue.
Preparing Your Space
- Measure the corner where the stand will be installed.
- Note the dimensions of your TV to ensure the stand fits securely.
- Mark the wall to plan for shelf height and bracket placement.
Basic Tools for Beginners
- Drill
- Screwdriver
- Saw (or use Timbercity’s cutting services)
- Measuring tape
- Level
DIY Instructions
- Cut the Timber:
-
-
- Measure Your Dimensions: Start by measuring the area where you plan to install the stand. Use these measurements to determine the size of the triangular shelves and rectangular support pieces.
- Mark the Cuts: Use a pencil and ruler to mark your cut lines on the timber for accuracy.
- Cut the Wood: Use a handsaw, circular saw, or jigsaw to cut the timber. Ensure the triangular shelves have sharp, clean edges and the support pieces are evenly cut for a stable structure.
-
- Assemble the Stand:
-
-
- Prepare the Pieces: Arrange the triangular shelves and rectangular supports to visualise the layout before joining them.
- Apply Wood Glue: Apply a thin, even layer of wood glue to the edges of the pieces you’ll be joining. This provides extra strength.
- Screw the Pieces Together: Use a drill to secure the pieces with screws, ensuring each joint is tight and aligned.
- Add Brackets for Stability: Attach metal brackets at the corners or where the shelves meet the supports for added stability, especially if the stand will bear heavy items.
-
- Sand the Edges:
-
-
- Smooth Rough Surfaces: Use medium-grit sandpaper (e.g., 120-grit) to sand down rough edges and surfaces, ensuring there are no splinters or sharp points.
- Polish the Finish: For a more refined look, follow up with finer sandpaper (e.g., 220-grit) to achieve a smooth, polished surface. Wipe away dust with a damp cloth.
-
- Paint or Stain:
-
-
- Choose Your Finish: Decide between painting or staining the wood to match your room’s décor. A wood stain will highlight the natural grain, while paint offers a bold, uniform look.
- Apply in Thin Layers: Use a brush or roller to apply the paint or stain in thin, even coats. Allow each layer to dry completely before applying another.
- Seal the Surface: If desired, finish with a clear polyurethane coat to protect the surface and enhance durability.
-
- Mount to the Wall:
-
- Mark Bracket Placement: Use a level to mark where the stand will be mounted to ensure it’s even. Identify wall studs using a stud finder for a more secure attachment.
- Drill Pilot Holes: Drill small pilot holes into the wall at the marked points to make it easier to screw in the brackets.
- Secure the Stand: Attach the stand to the wall using heavy-duty brackets and screws. Tighten the screws firmly to ensure the stand is stable and can support the intended weight.
Safety Precautions
- Wear safety goggles while cutting and drilling.
- Double-check weight capacity when mounting the stand.
- Use a stud finder to locate wall studs for secure installation.
Choosing the Right Materials for a Floating TV Stand
Eco-Friendly, Sustainable Timber from Timbercity
Timbercity is known for its commitment to sustainability, offering FSC-certified wood options that are both environmentally friendly and durable.
Affordable Yet High-Quality Materials
Quality materials ensure your TV stand is sturdy and long-lasting. Opting for solid wood or high-quality plywood from Timbercity is a smart investment for a functional and stylish stand.
Durability and Longevity
Strong, eco-friendly materials enhance the aesthetic and structural integrity of your stand, making it a practical and beautiful addition to your home.
Tips for Personalising Your Floating TV Stand
Adding Shelves or Compartments for Extra Storage
Incorporate additional shelves for books, plants, or media devices. This adds functionality and makes the stand a multipurpose piece of furniture.
Integrating Cable Management Solutions
Hide messy cables using built-in cable holes or discreet covers. A clutter-free look not only enhances the aesthetic but also keeps cords organised and safe.
Where to Find the Best Materials for Your DIY Project
Timbercity’s Range of Materials and Tools
From sustainable timber to screws and brackets, Timbercity has everything you need for your DIY project.
Convenient Delivery Services
Timbercity makes it easy to get started with home delivery services that bring materials right to your doorstep.
In-Store and Online Shopping
Prefer browsing in person? Visit a Timbercity store near you. Love online shopping? Explore our full range of products from the comfort of your home.
Why a Floating Corner TV Stand is the Perfect DIY Project
A floating corner TV stand is a functional, stylish, and space-saving solution for any home, especially small spaces. It combines modern design with practicality, offering storage, organisation, and aesthetic appeal.
With Timbercity’s eco-friendly materials and tools, creating your own TV stand has never been easier—or more satisfying. Ready to elevate your living space? Visit Timbercity today and start your DIY journey!
Contact us for inquiries or expert guidance.