Building a Wooden Garden Arbor: Plans, Tools & Step-by-Step Guid
There’s something quietly spectacular about a wooden garden arbor. Part portal, part sculpture, it draws the eye and invites you in – adding both structure and softness to any outdoor space. But what exactly is a garden arbor? It’s a decorative outdoor structure – usually made of wood, metal, or vinyl – that adds architectural interest to a garden or yard. It typically consists of two or four posts with an arched or flat roof and open sides, often designed to support climbing plants like roses, jasmine, or ivy.
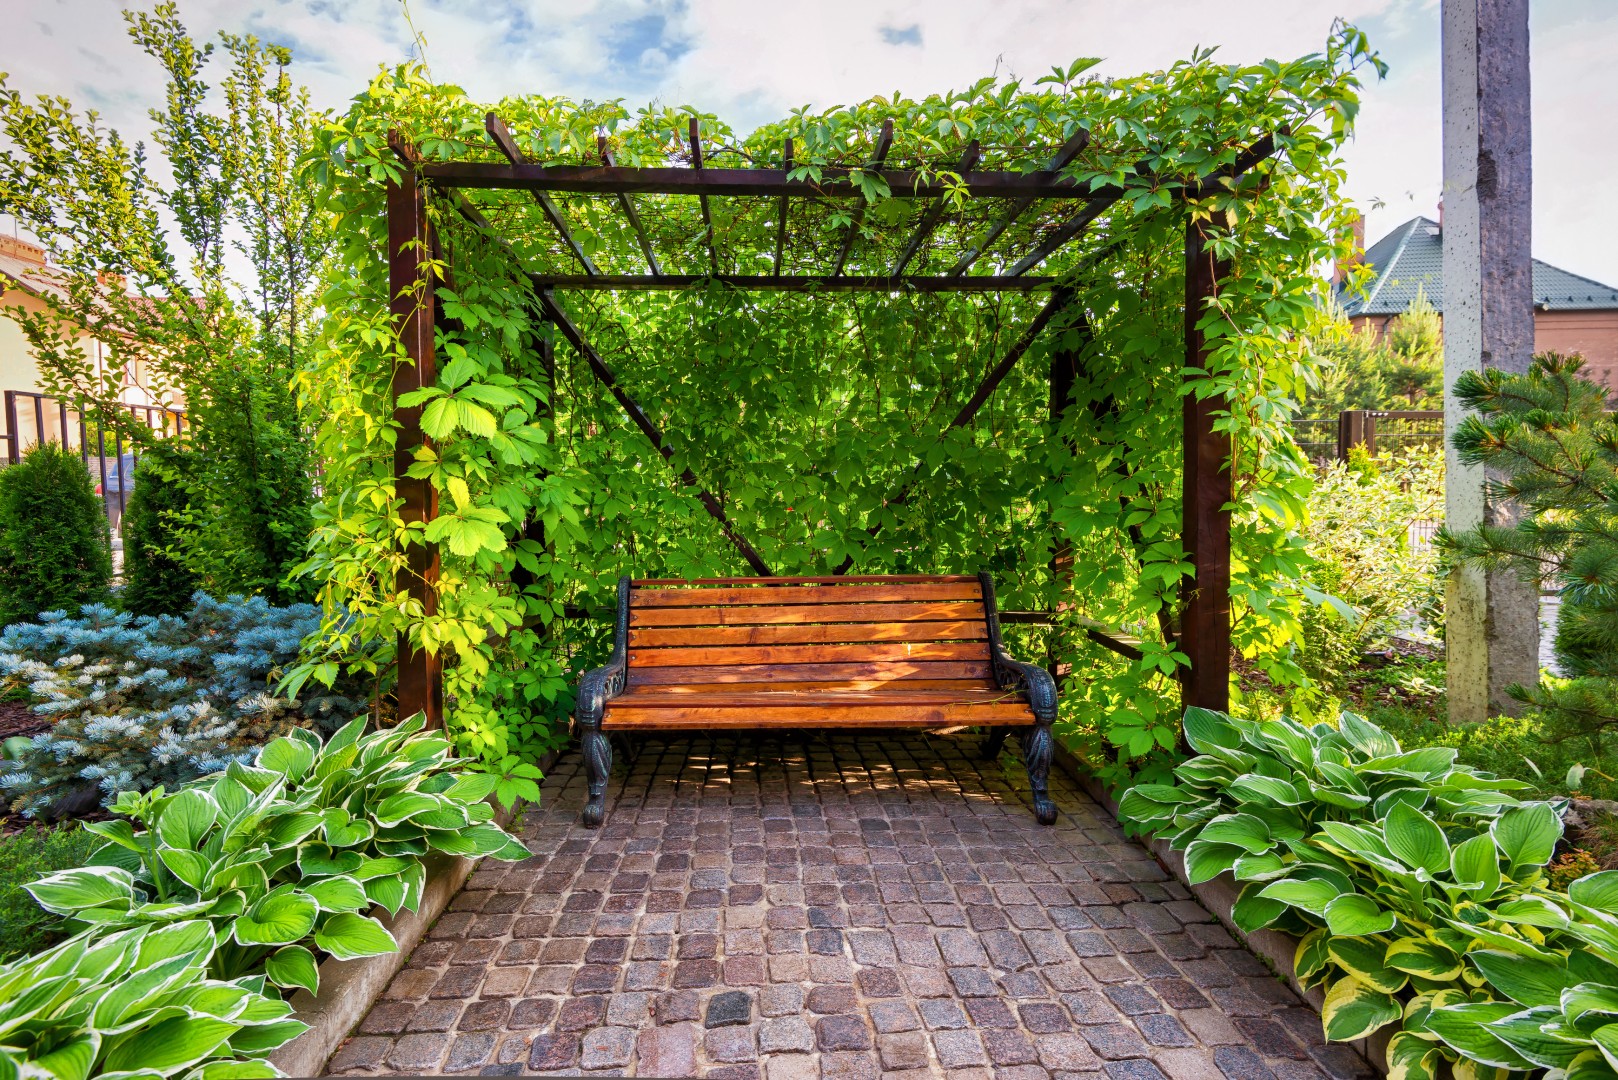
Whether it marks the start of a winding path, frames a bench for afternoon reading, or simply gives your garden some vertical drama, an arbor is a project that brings beauty and satisfaction in equal measure.
In this guide, we’ll walk you through everything you need to create your own: from picking the perfect style and location, to tools, plans, step-by-step build instructions, and finishing touches that make it sing.
Need home inspiration before you break out the drill? Head over to Timbercity’s Get Inspired page to browse outdoor project ideas that blend creativity with craftsmanship.
Choosing Your Wooden Arbor Style
Wooden garden arbors are far more than decorative – they’re versatile features that can shape how you experience your garden.
Arched or flat-top? Rustic or modern?
An arched arbor brings a romantic, cottage-garden feel, while a flat-top lends itself to contemporary minimalism. If you’re aiming for something classic, lattice sides and curved trellising can create a timeless look. Prefer clean lines? Go modern with a squared design and solid slats.
Still browsing home improvement ideas? Flip through Better Homes & Gardens’ garden arbor features, or explore the timber-styled beauty on Timbercity’s Get Inspired gallery for real-world builds that show what’s possible.
Planning & Preparation
Before you pick up a saw, let’s talk prep. A well-placed arbor enhances your space – and lasts longer too.
Choose the Right Spot
Look for an area that naturally draws the eye or frames an existing feature, like a pathway, gate, or bench. Think about:
- Sunlight exposure (especially if you plan to add climbing plants)
- Ground level – your surface should be as even as possible
- Surrounding space – allow enough clearance for installation and movement
Get the Dimensions Right
Sketch a rough plan. Use stakes and string to map out the footprint directly on the ground. Measure carefully—it’s worth triple-checking post placement before you commit.
Need specific timber lengths for your build? Timbercity offers precision cuts and planning help – use the Request a Quote tool to get exactly what you need, no guesswork required.
Materials & Tools Checklist
A solid arbor starts with smart material choices. Here’s what you’ll need:
Recommended Wood Types
- Treated Pine: Affordable and durable for outdoor use
- Cedar: Naturally resistant to rot and insects
- Saligna or Meranti: If you’re aiming for a more refined, stained finish
Hardware EssentialsGalvanised screws and bolts (for rust resistance)
- Pop rivets and pins
- Corner brackets or joist hangers for added stability
Tools You’ll Need
- Saw (circular or handsaw)
- Power drill with drill bits
- Measuring tape and square
- Rivet gun
- Spirit level and safety gear (gloves, glasses)
Not sure what you’re missing? Stop by Timbercity – your one-stop shop for trusted timber, quality tools, and durable hardware built to last.
Step-by-Step Build Guide
Now for the fun part—bringing your arbor to life.
Step 1: Cut and Prep Your Wood
Use your measurements to cut all vertical posts, crossbeams, and arch pieces. Sand down edges and pre-drill any bolt holes to avoid splitting.
Step 2: Build the Side Panels
Assemble the two side frames (vertical posts and any lattice work) on flat ground. Use brackets or pocket-hole screws to connect. Keep everything square.
Step 3: Attach Crossbeams and Arch
Lift and fix the two side panels upright. Connect with horizontal beams across the top. If building an arch, preassemble the curved top before mounting. Reinforce with diagonal braces for added strength.
Step 4: Anchor the Arbor
For a freestanding arbor, drive stakes or metal post anchors into the ground and secure each post. For a more permanent structure, sink posts into concrete.
Safety Tip: Always check for level and square as you go. Use clamps and temporary braces if needed.
Want visual ideas for your build? Pinterest is packed with garden arbor inspiration – save a few for reference before you get started.
Finishing Touches
This is where your arbor goes from good to gorgeous.
1. Seal & Stain
Stain enhances the natural grain, while sealant protects against the elements. Choose a weather-resistant finish in natural, charcoal, or bold garden hues.
2. Make It Yours
- Add lattice panels for a traditional look
- Train climbing roses, ivy, or jasmine for a soft, natural canopy
- Wrap fairy lights or lanterns for evening ambience
The right hardware – hinges, brackets, fasteners – makes your structure solid and stylish. Find these all at Timbercity to complete the look.
Maintenance Tips
A beautiful arbor deserves long-term care.
- Seasonal Checks: Inspect for loose screws, warping wood, or signs of weather damage.
- Recoat annually: Especially if your arbor is fully exposed to the elements.
- Replace with ease: Damaged slats or lattice can be swapped out using supplies from your local Timbercity.
Your wooden garden arbor isn’t just a weekend project – it’s a personal landmark in your outdoor space. Something that says: this is where beauty begins.
When you’re done, step back and admire what you’ve built. Then share it! Tag Timbercity online and show off your handiwork.
Ready for your next DIY journey? Browse Get Inspired for more ideas that turn timber into transformation.
Or if you’re eager to get started, use our Request a Quote tool for quick, custom support.
Because at Timbercity, we believe good wood deserves great stories – and yours is just getting started.